📚 Media Library
The Media Library in C360 is a central place to store and manage images, files, and other media assets.
To access it:
➡️ Go to Marketing → Social → Media Library from the Top Bar.
📑 Media Library Views
At the top of the Media Library page, you can:
Media can be viewed in Grid View or List View:
- 🔲 Grid View
- 📋 List View
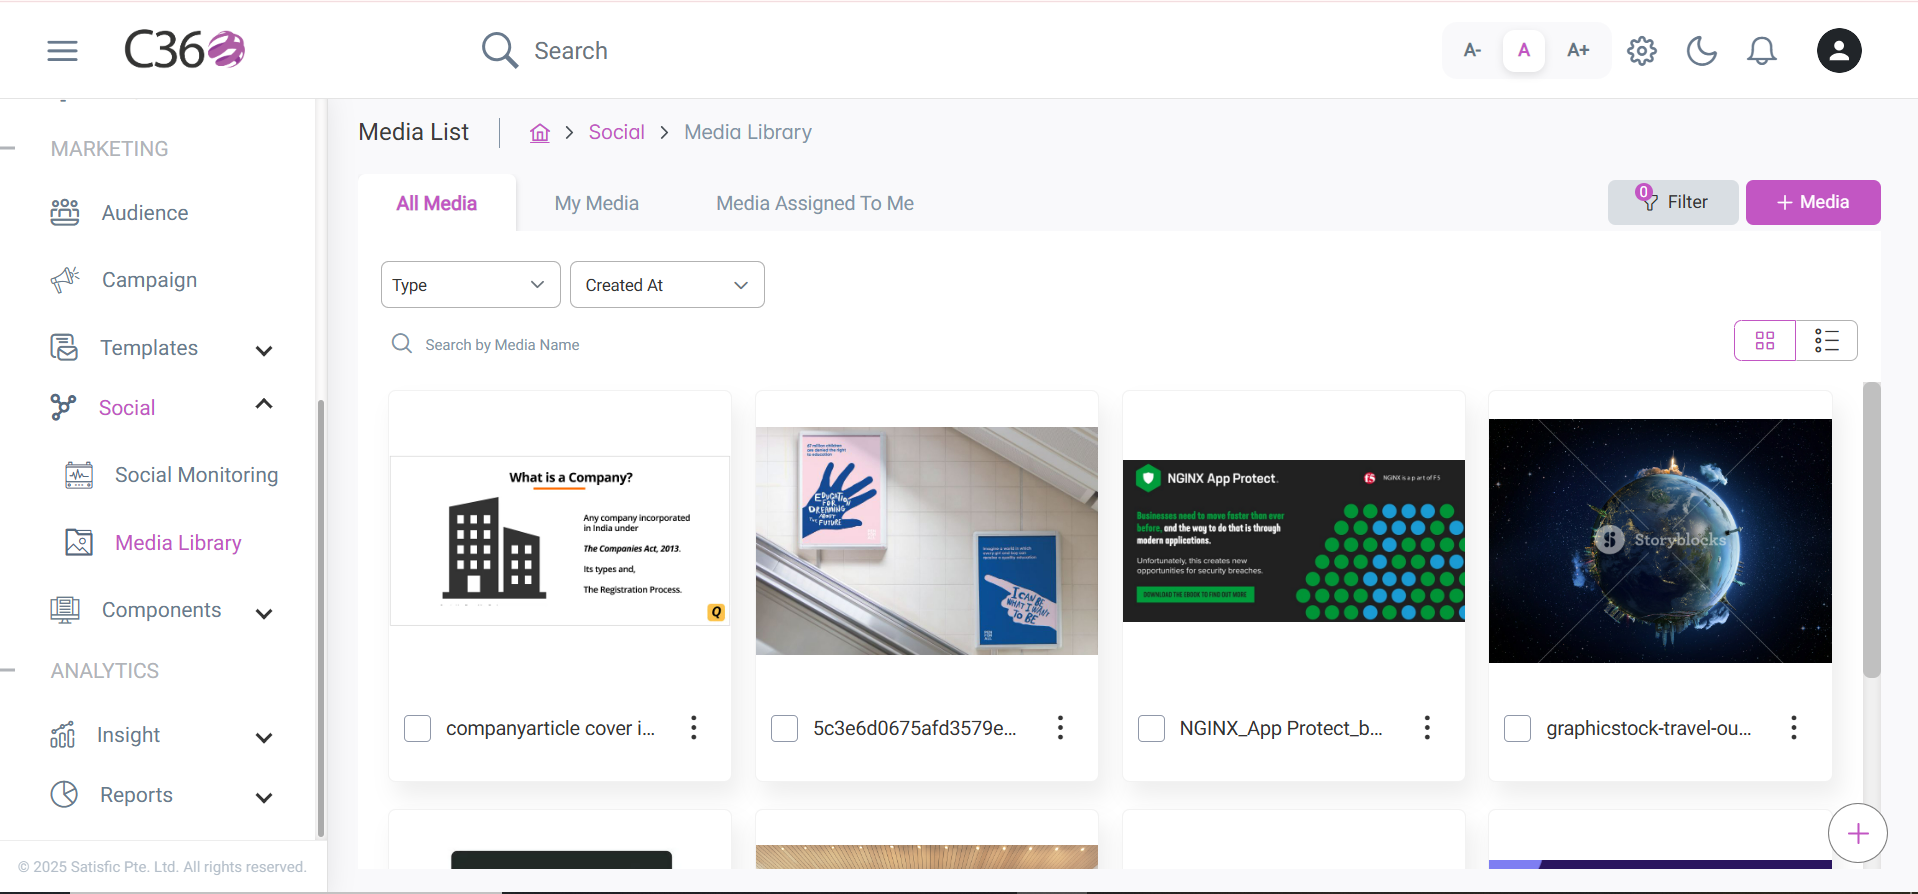
In grid view, each media item is shown with a thumbnail preview and quick actions:
- Name – Title of the media item
- Download – Download the media file
- Checkbox – Select media items to delete or assign to groups
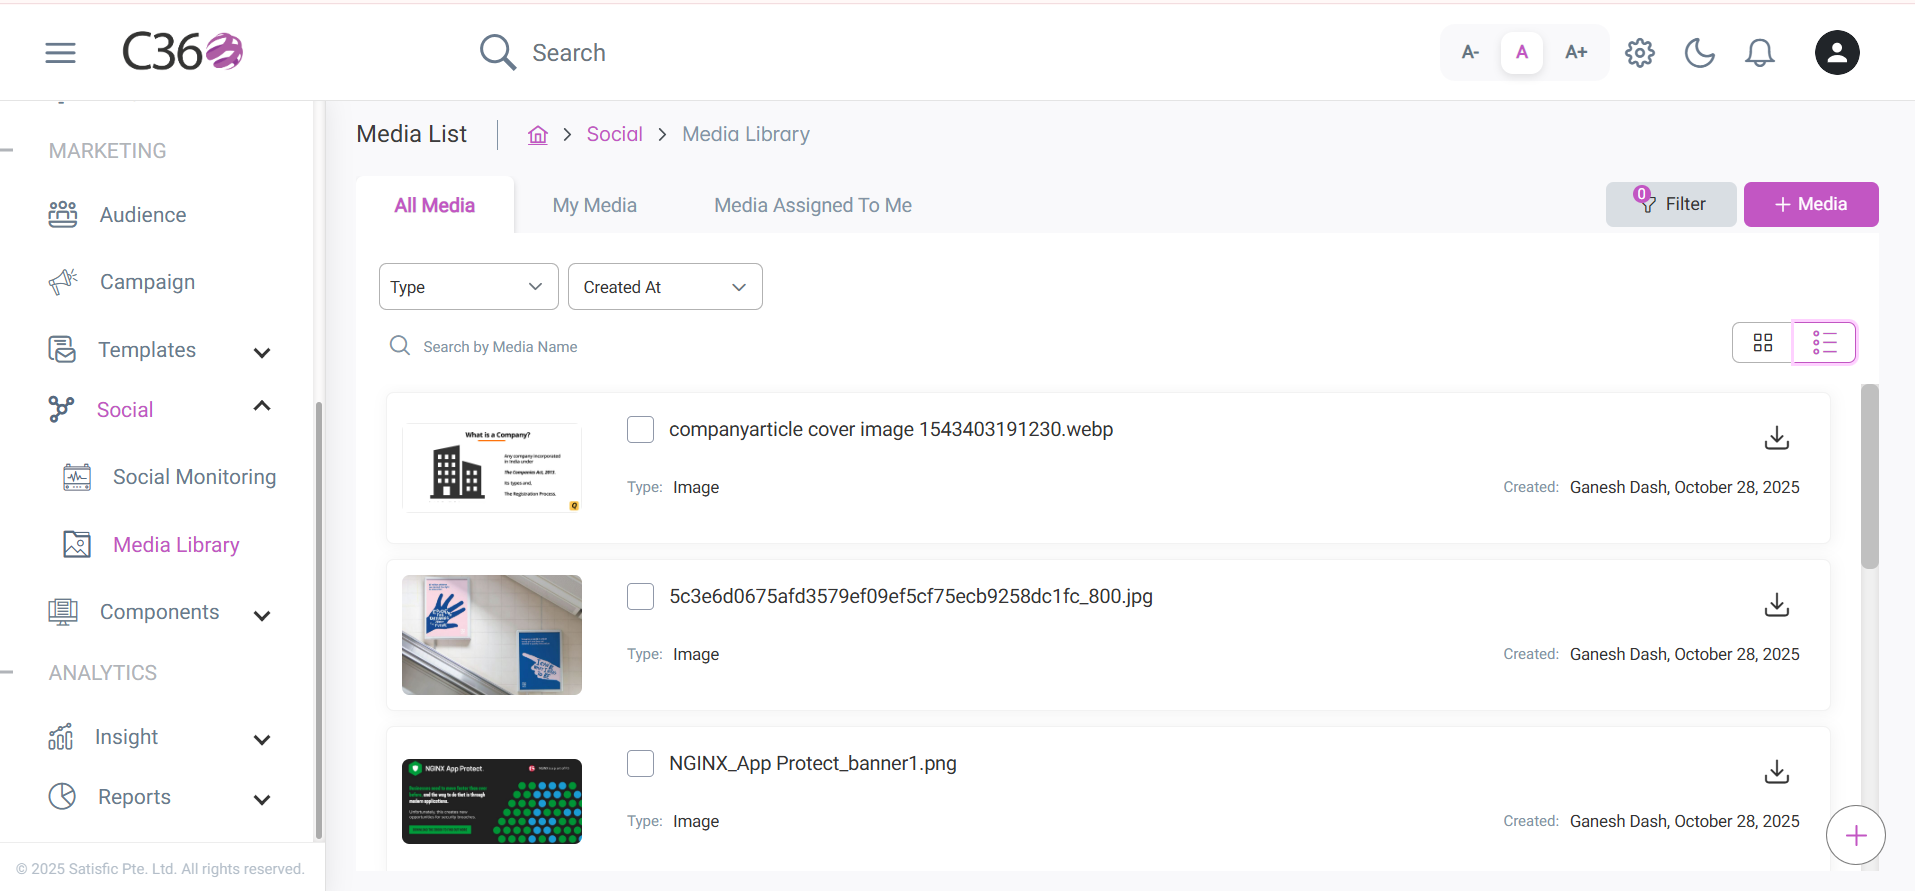
In list view, items are displayed in a table format with more details:
- Name – Media title
- Type – Media type/category
- Created By & Created On – User and creation date
- Download – Download the media file.
🔎 Searching Media
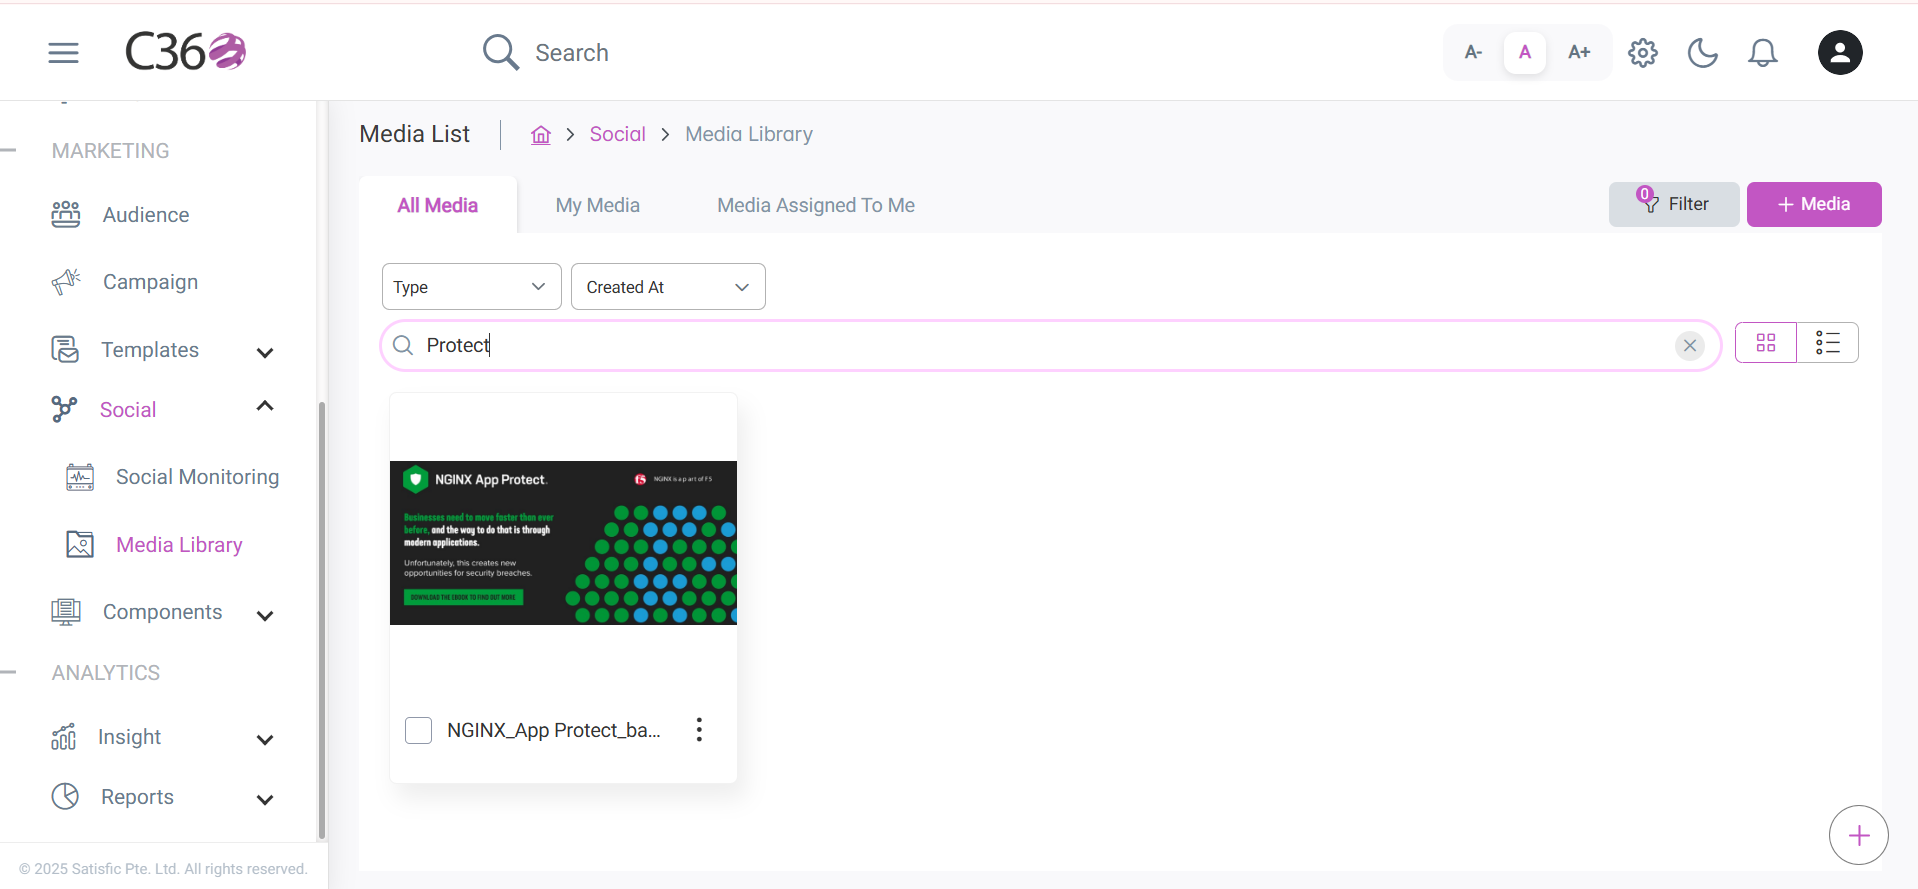
- Use the search bar at the top of the page.
- Enter a keyword such as media title or description.
- Press Enter or click the search icon.
- The system displays all matching media items.
🎯 Filtering Media
- Open the Media Library tab.
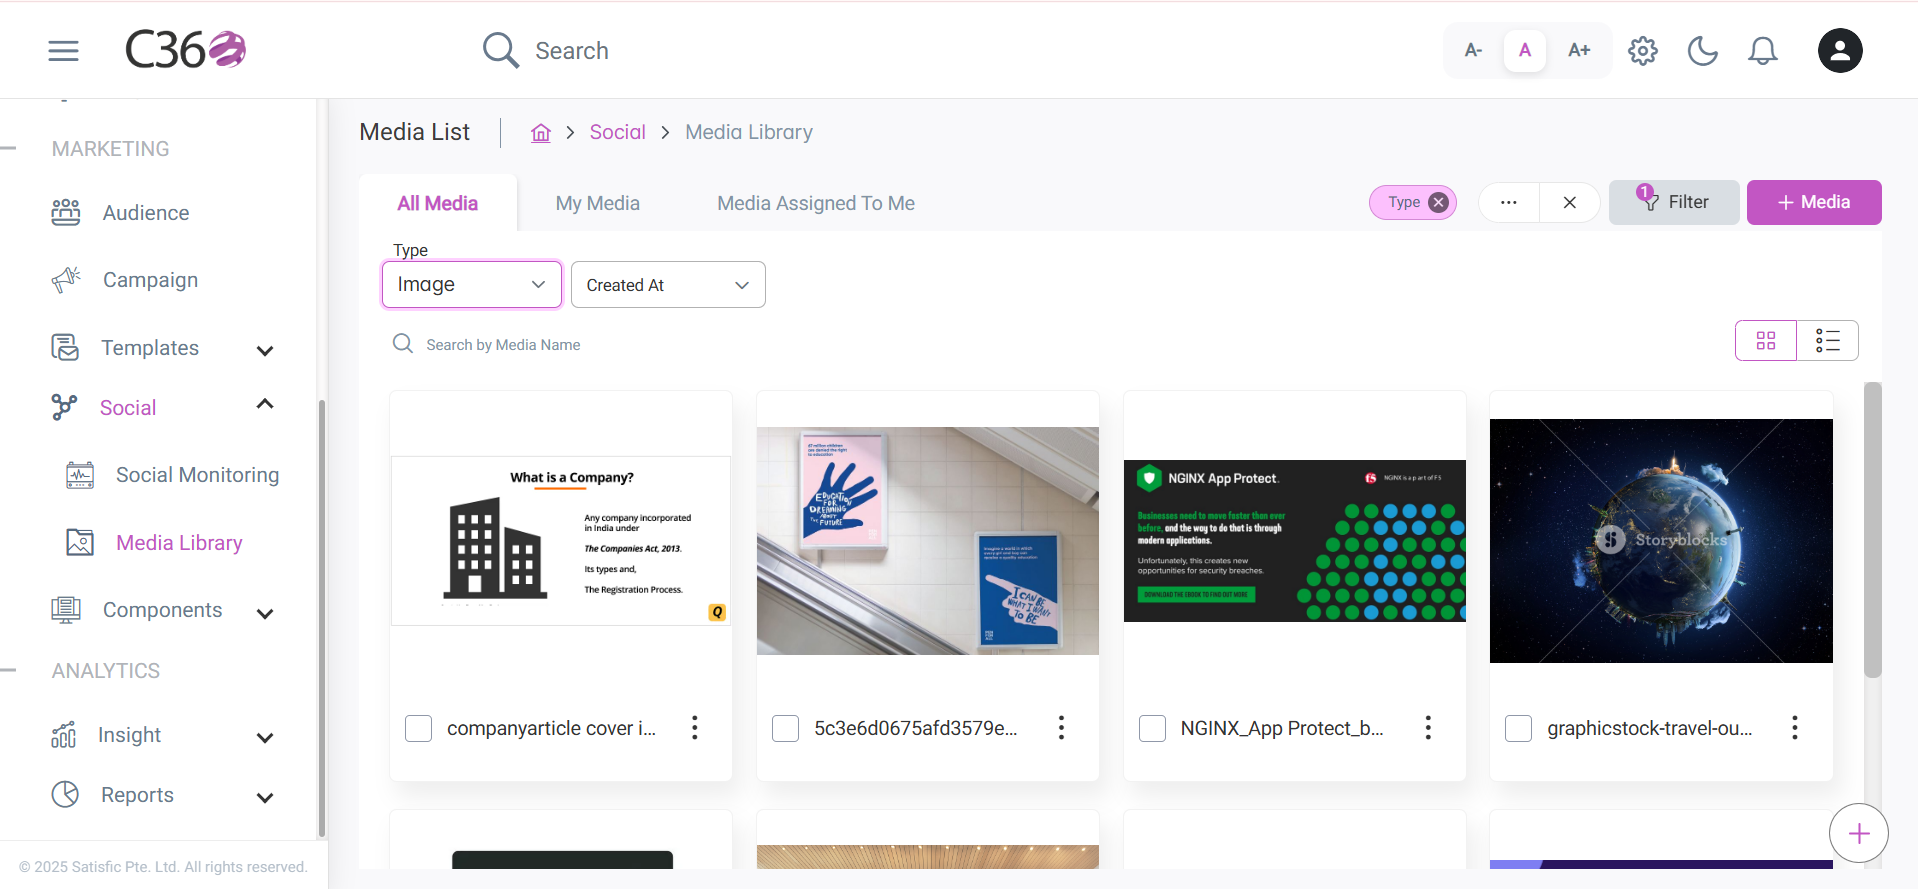
- Apply filters such as:
- Type – Filter by media type
- Created At – Filter by creation date
-
- All Media/ My Media / Media Assigned To Me
note
- All Media: Created by me/Assigned to me/Created by below users.
- My Media: Created by me
- Media Assigned To Me: The Media which were assigned to me by someone.
note
Active filters appear next to the filter section. You can clear them anytime.
--
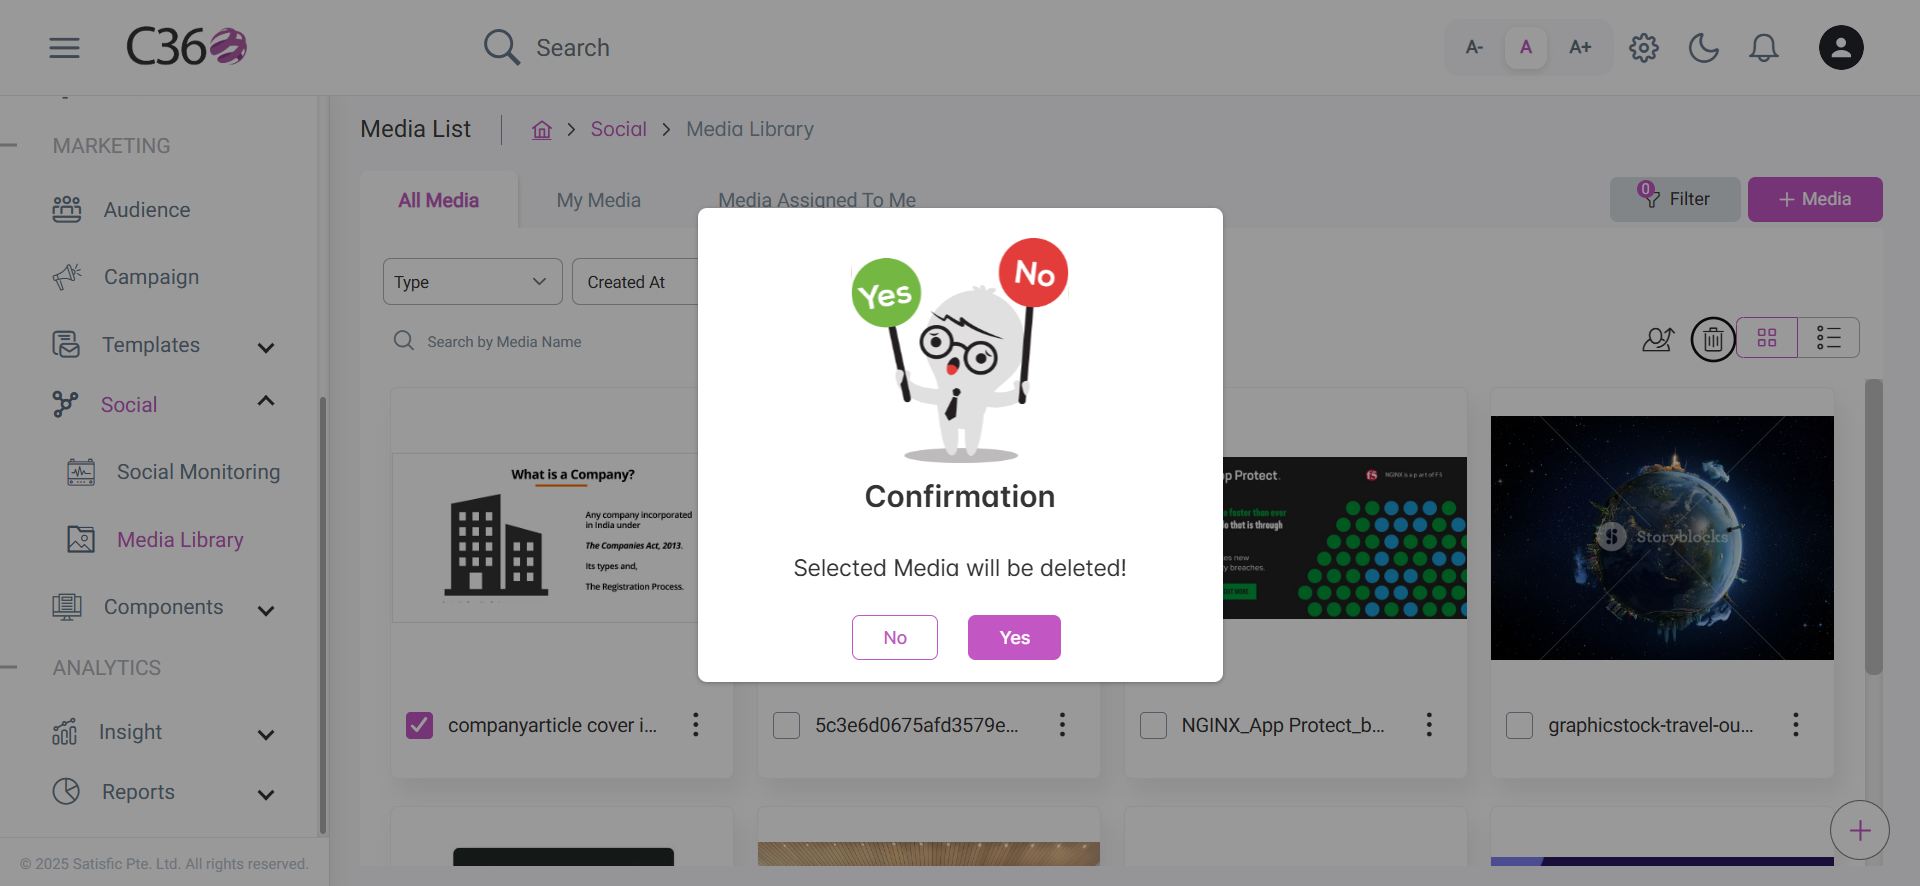
🗑️ Delete Media
- Select the checkbox(es) for the Media you want to delete.
- Click the Delete icon .
- Click on Yes from the confirmation pop-up if you want to delete.
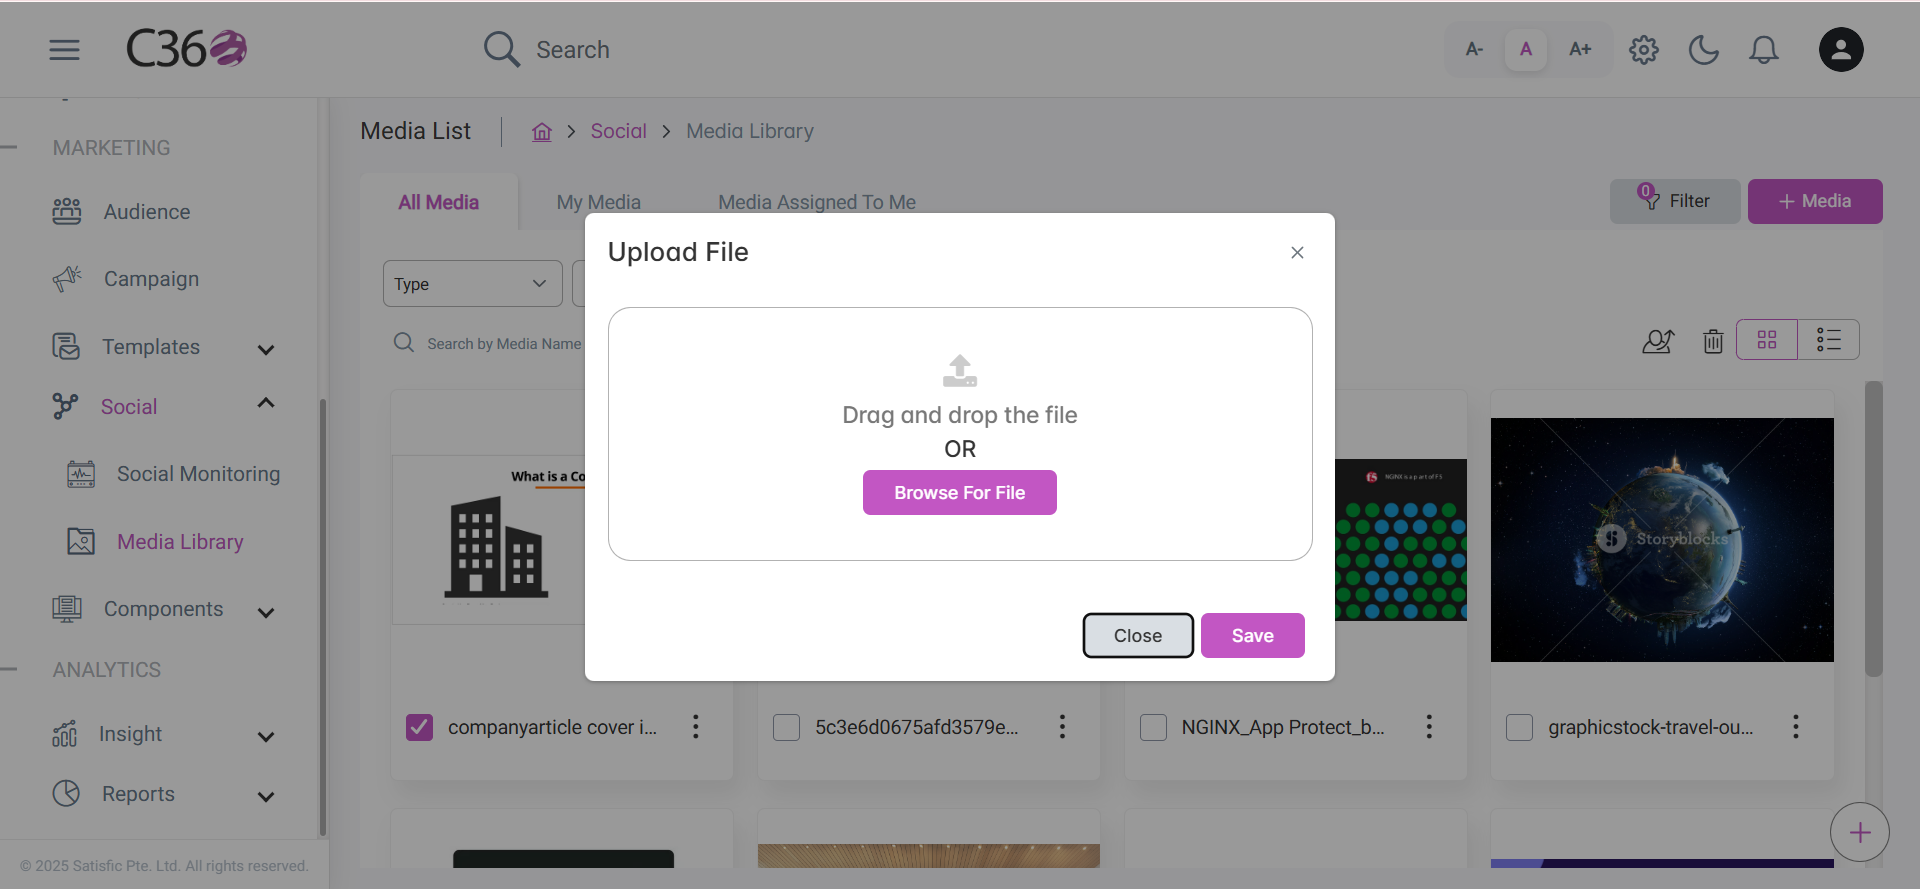
➕ Adding Media
To add new media to the library:
- Click Add Media at the top of the page.
- Browse your computer or drag and drop the file into the upload area.
- Click Save/Add to complete the upload.
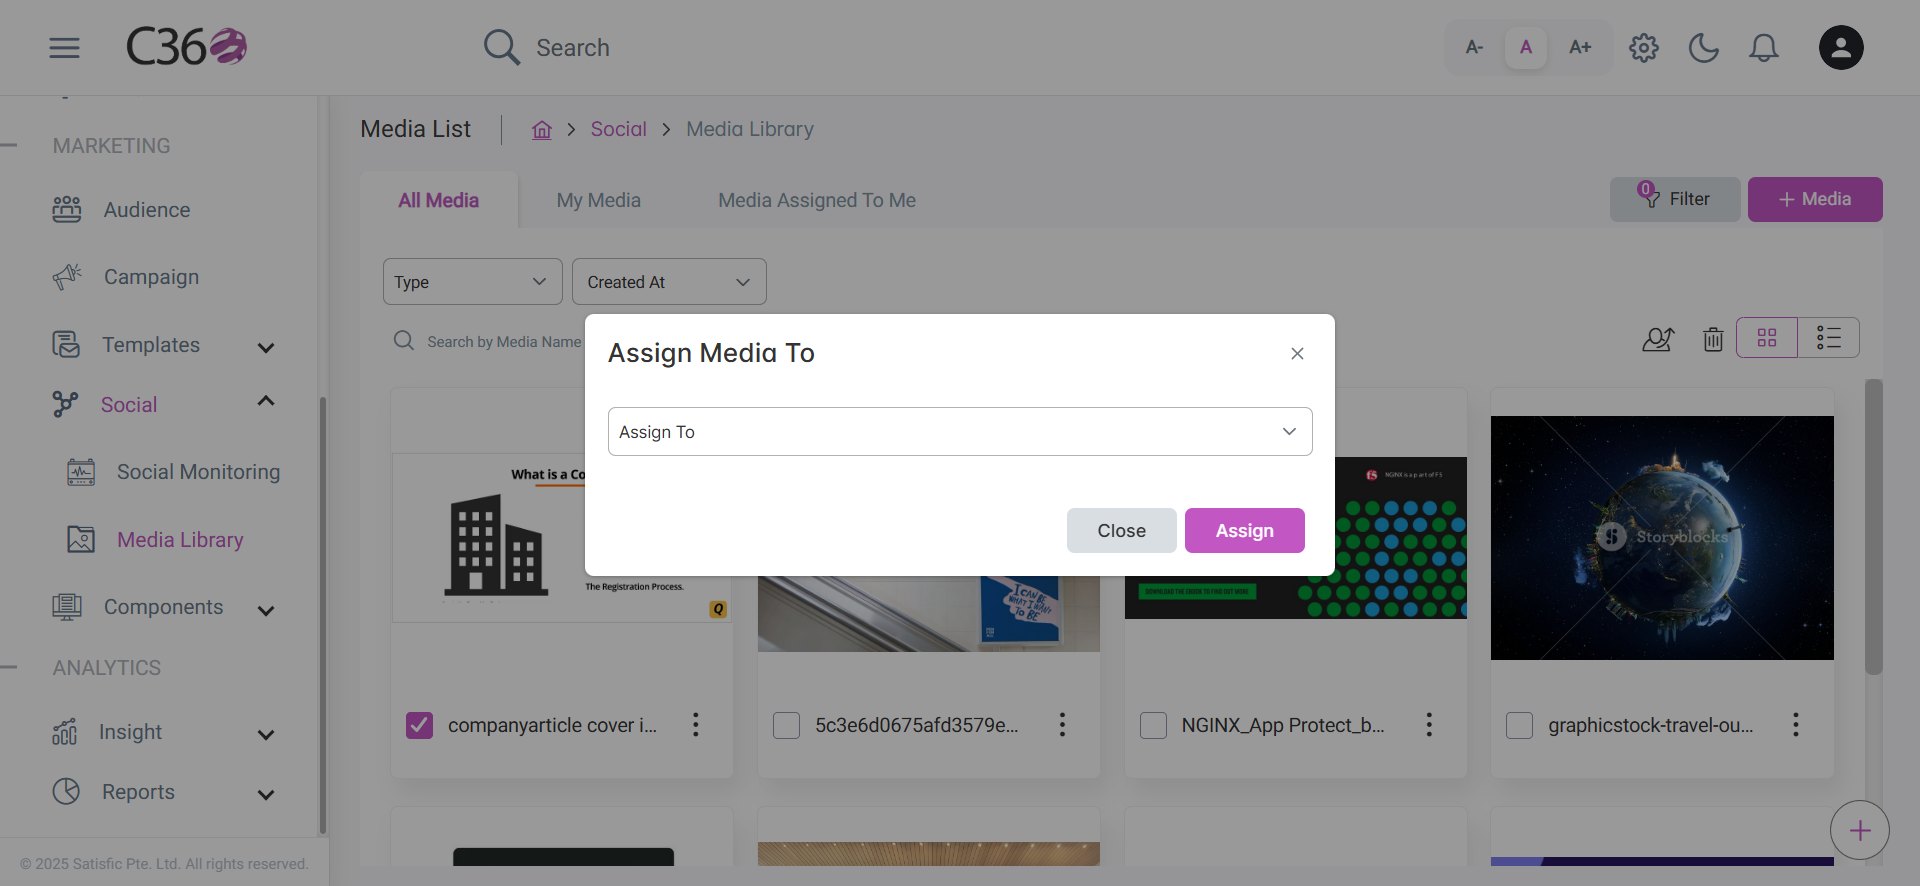
👥 Assigning Media to Groups
- On the Media Library page, select one or more media items.
- Click Assign To at the top.
- Choose the desired group from the dropdown.
⚙️ Using Media in Social Posts
- Media stored in the library can be directly added when creating a new social post.
- Instead of uploading files every time, users can simply select items from the Media Library.
✅ This makes campaign creation faster, more consistent, and easier to track.
tip
These items can be reused across social posts, campaigns, and channels, ensuring brand consistency and saving time.