📧 Manage Email Templates
The Email Templates feature in C360 CRM allows you to create, manage, and customize professional email templates for your marketing campaigns.
To access Asset Type:
➡️ Go to Marketing → Template → Email Template from the Top Bar.
🖼️ Email Template Views
The Email Templates section provides two types of views: Grid View and List View.
⚙️ Available Actions
| 🛠️ Action | 📌 Description |
|---|---|
| 🔍 Search Bar | Find specific emails. |
| 🎛️ Filters | Filter by status, created date, modified date, or owner. |
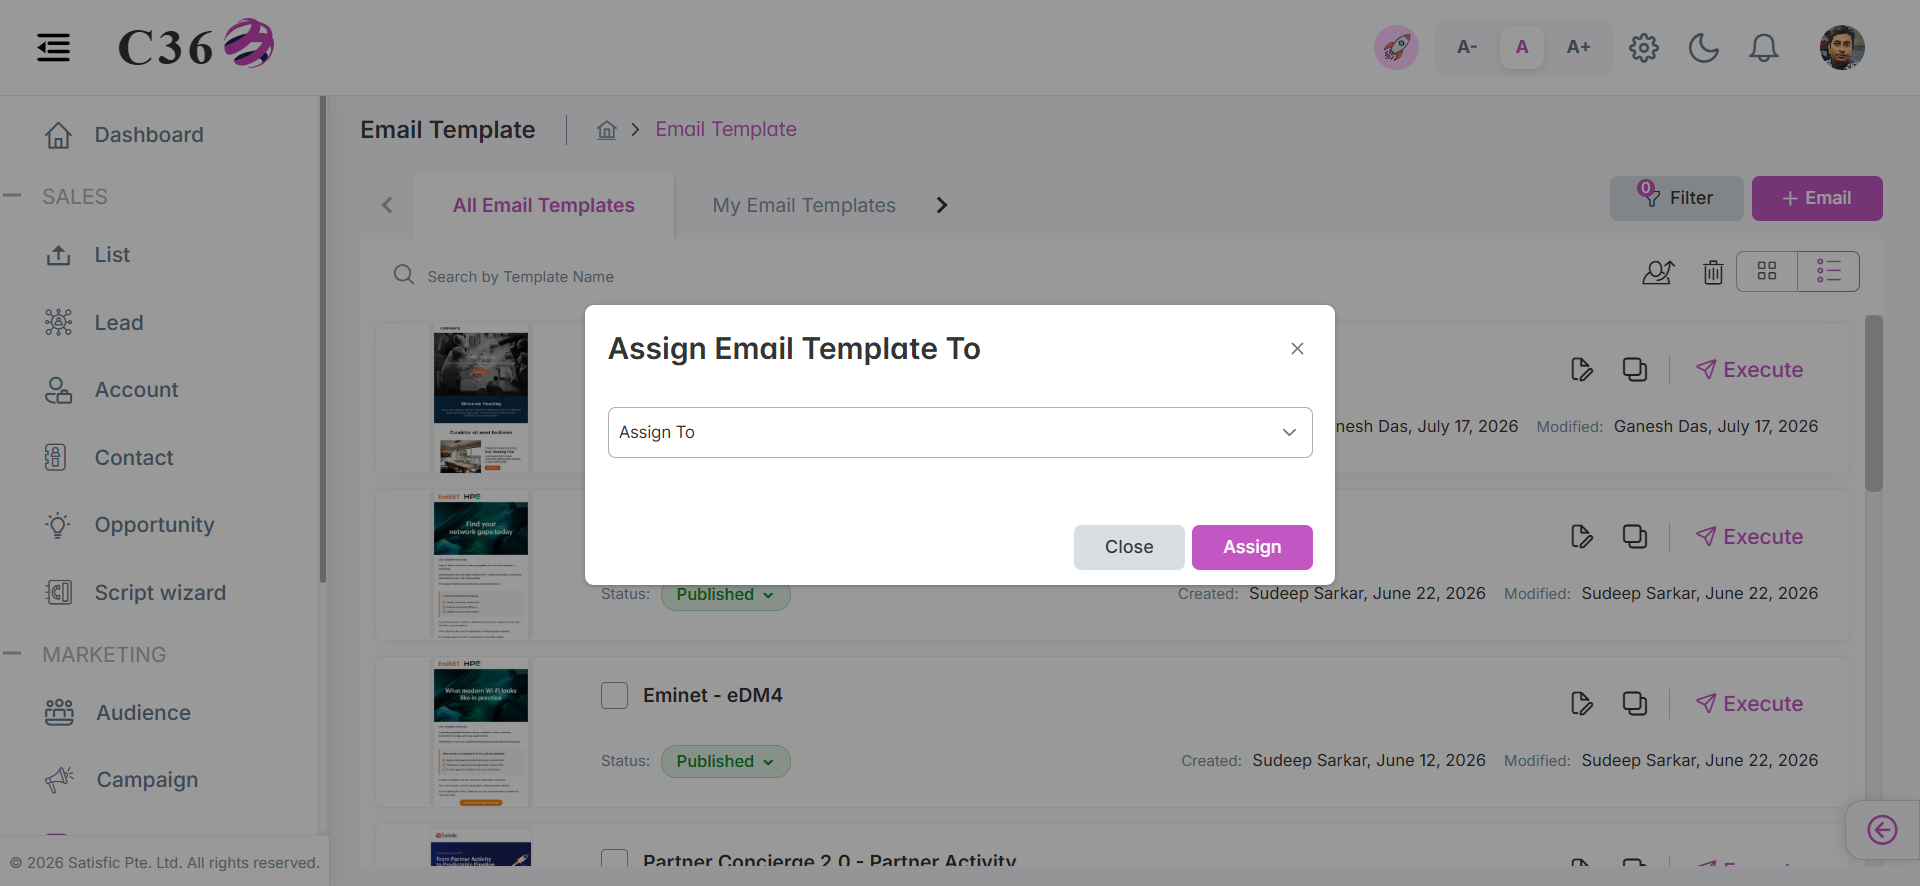
| 👥 Assign To | Assign email(s) to groups. |
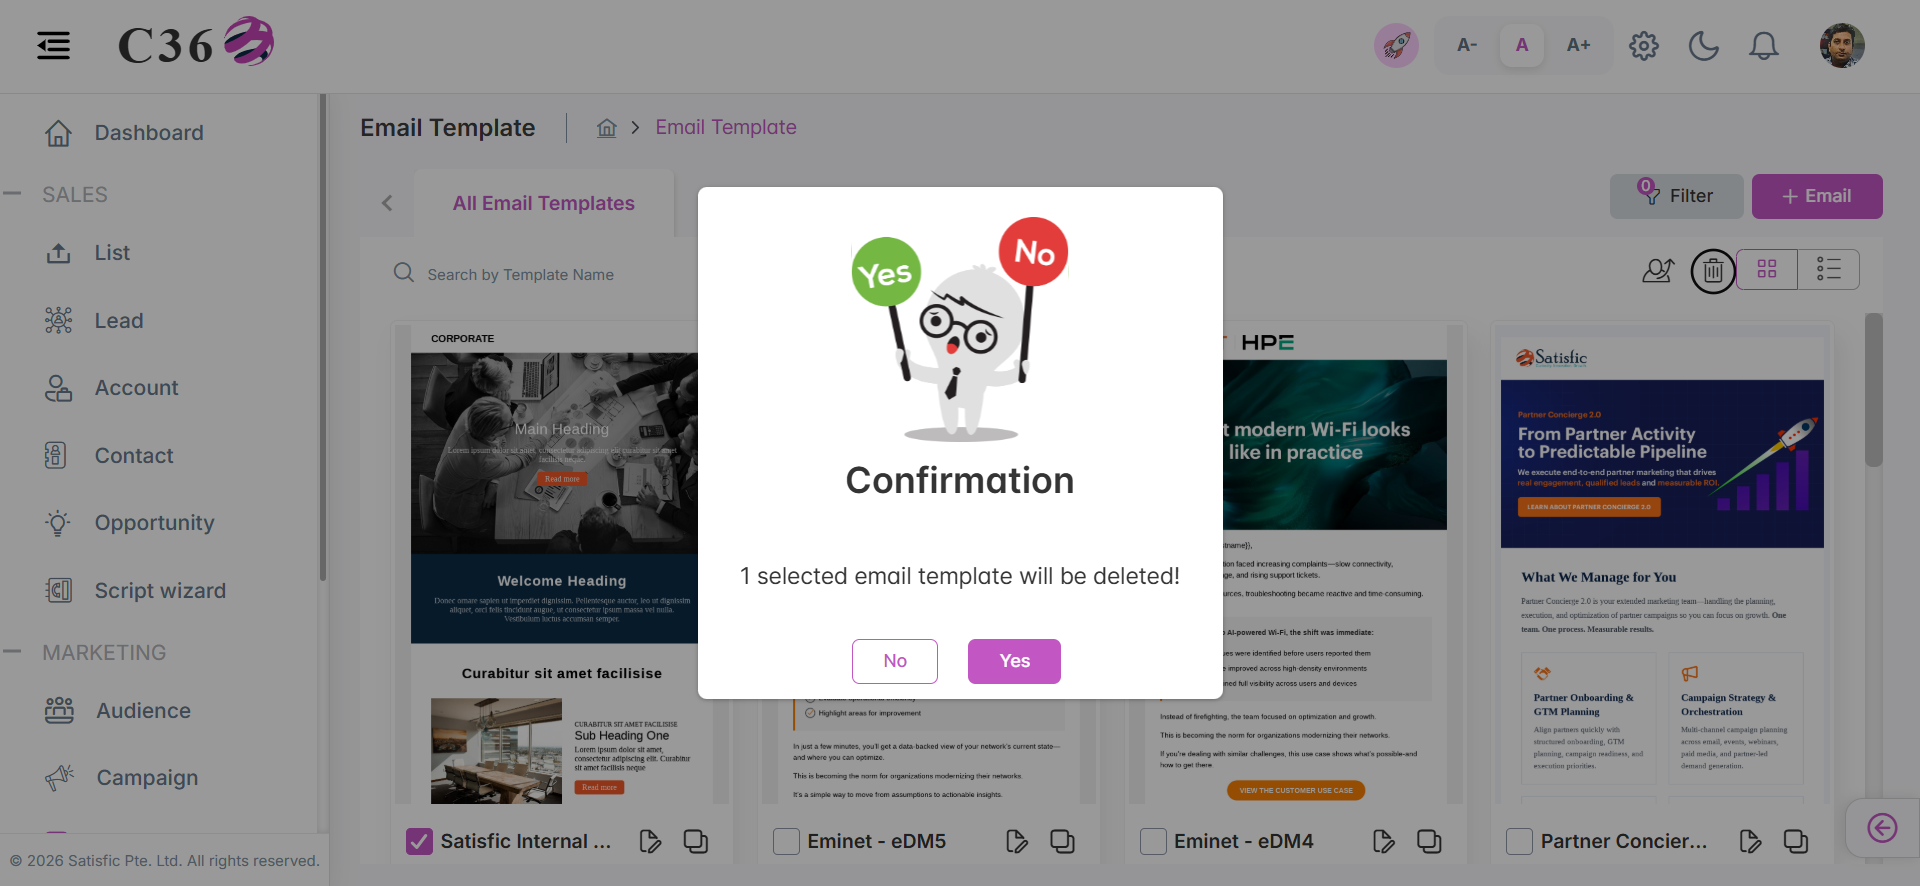
| 🗑️ Delete | Select checkbox → click Delete. |
| ➕ Add Email | Create new templates. |
| ✏️ Edit | Updating an existing email template. |
| 📋 Clone Email | Dulicate of an existing templates. |
| ⚡ Execute | Can Execute the email directly from grid view. |
| 🔄 Modify Status | Can change the status of the email. |
- 🔲 Grid View
- 📜 List View
The Grid View presents Email Templates as visual cards with thumbnails and quick actions.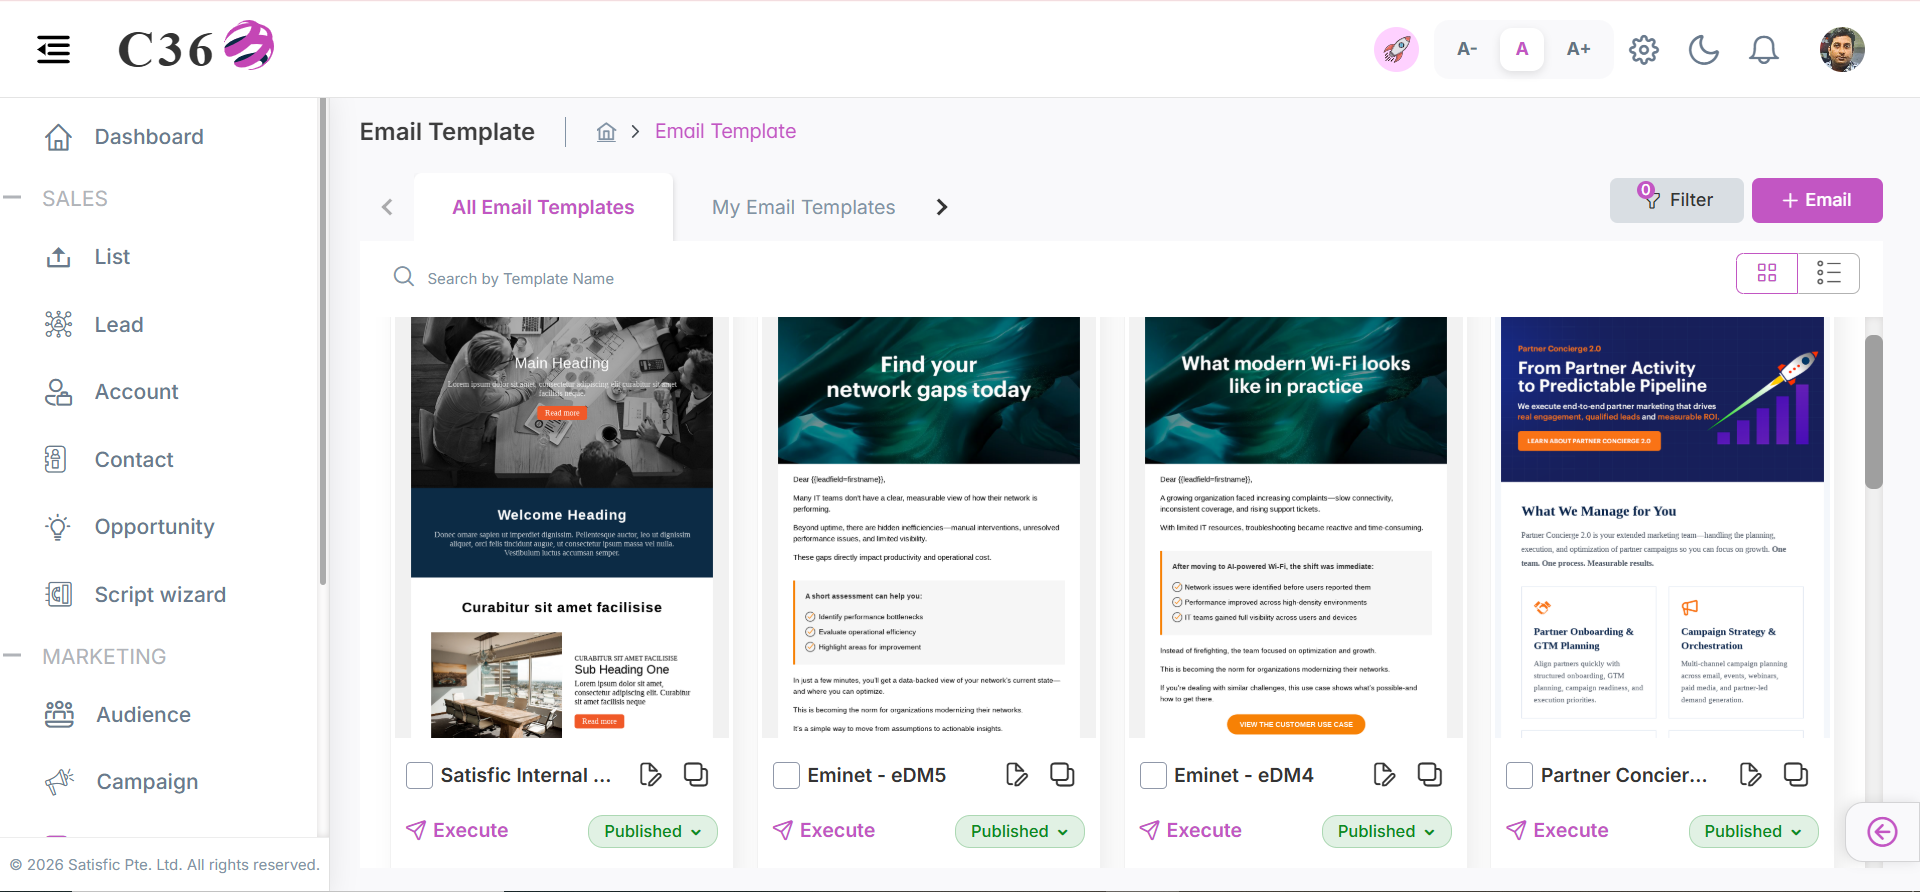
The List View displays Email Templates in a structured table format for quick scanning and comparison. You will find same actions as grid view.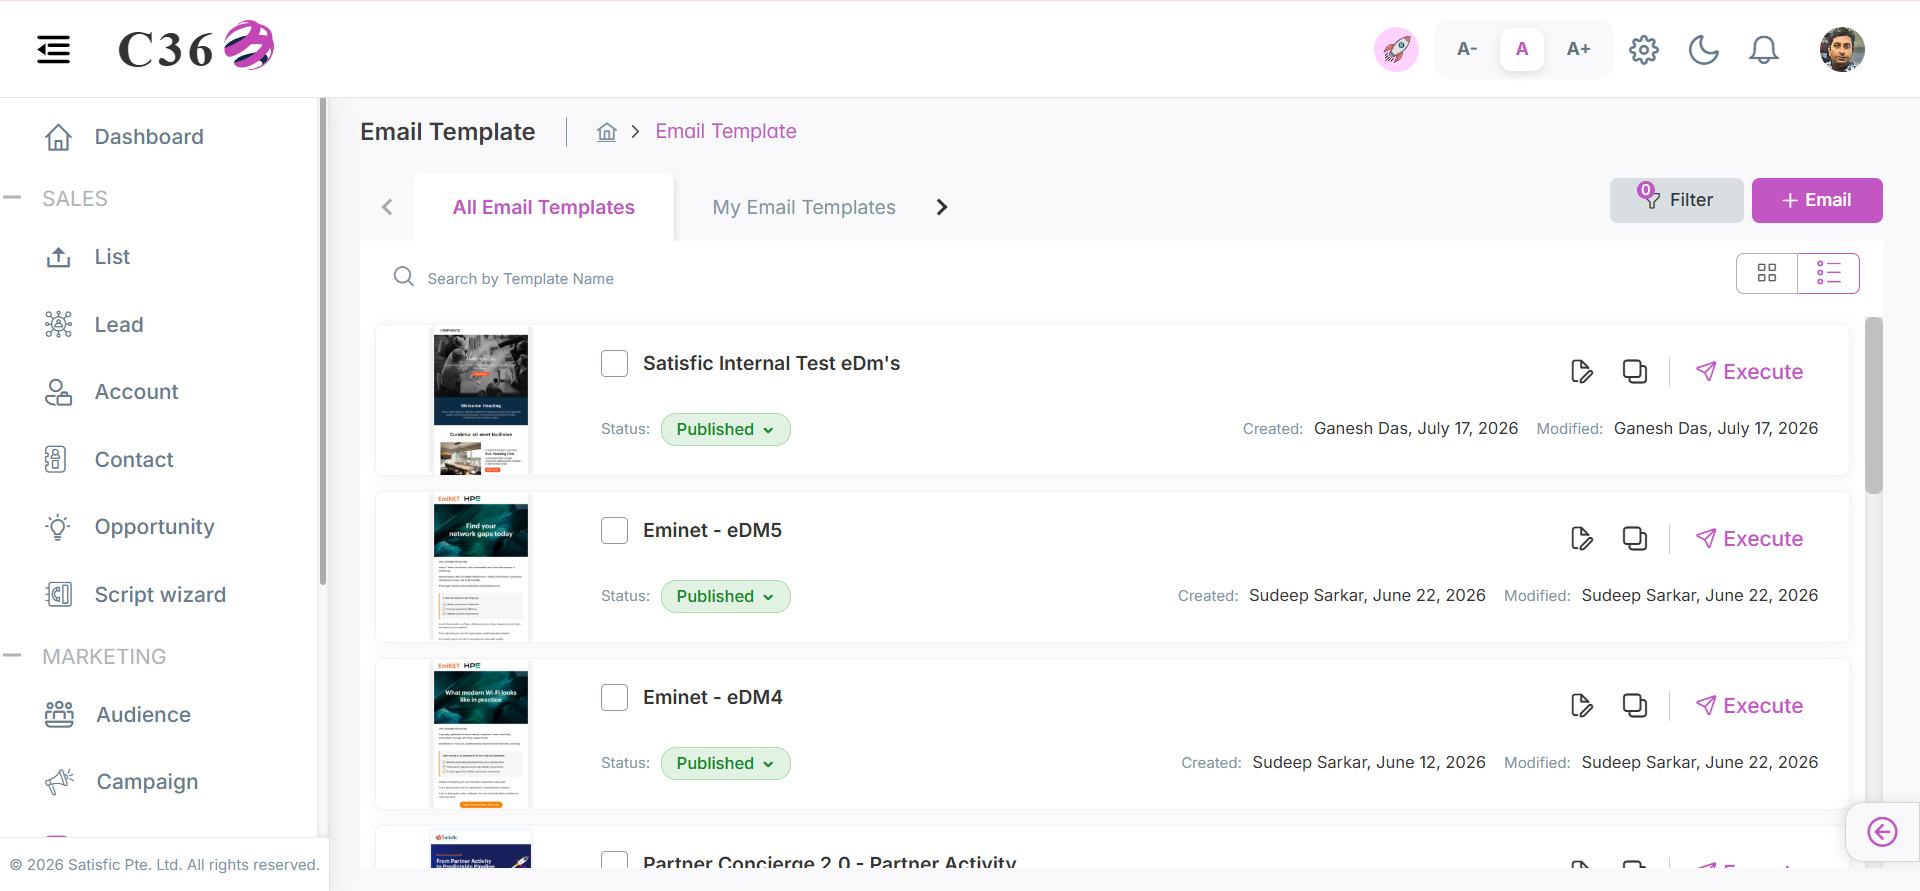
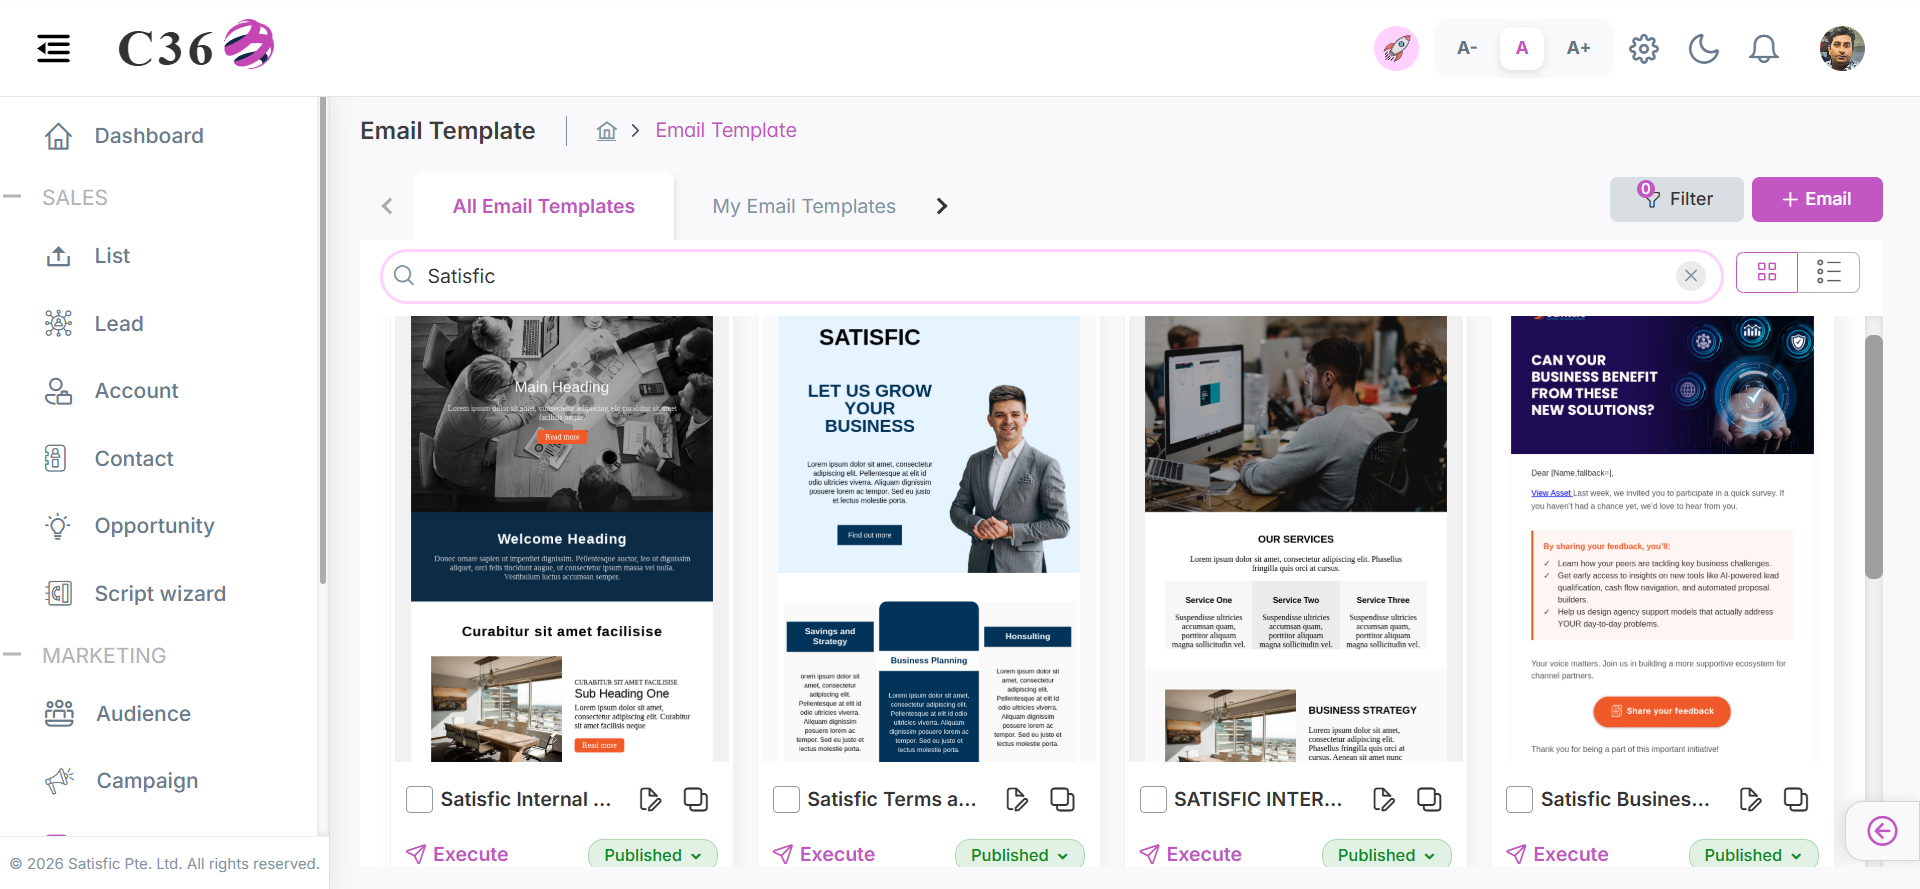
🔍 Searching for Emails
➡️ Enter template name in Search Bar → Click the Search Icon.
🧩 Filtering Emails
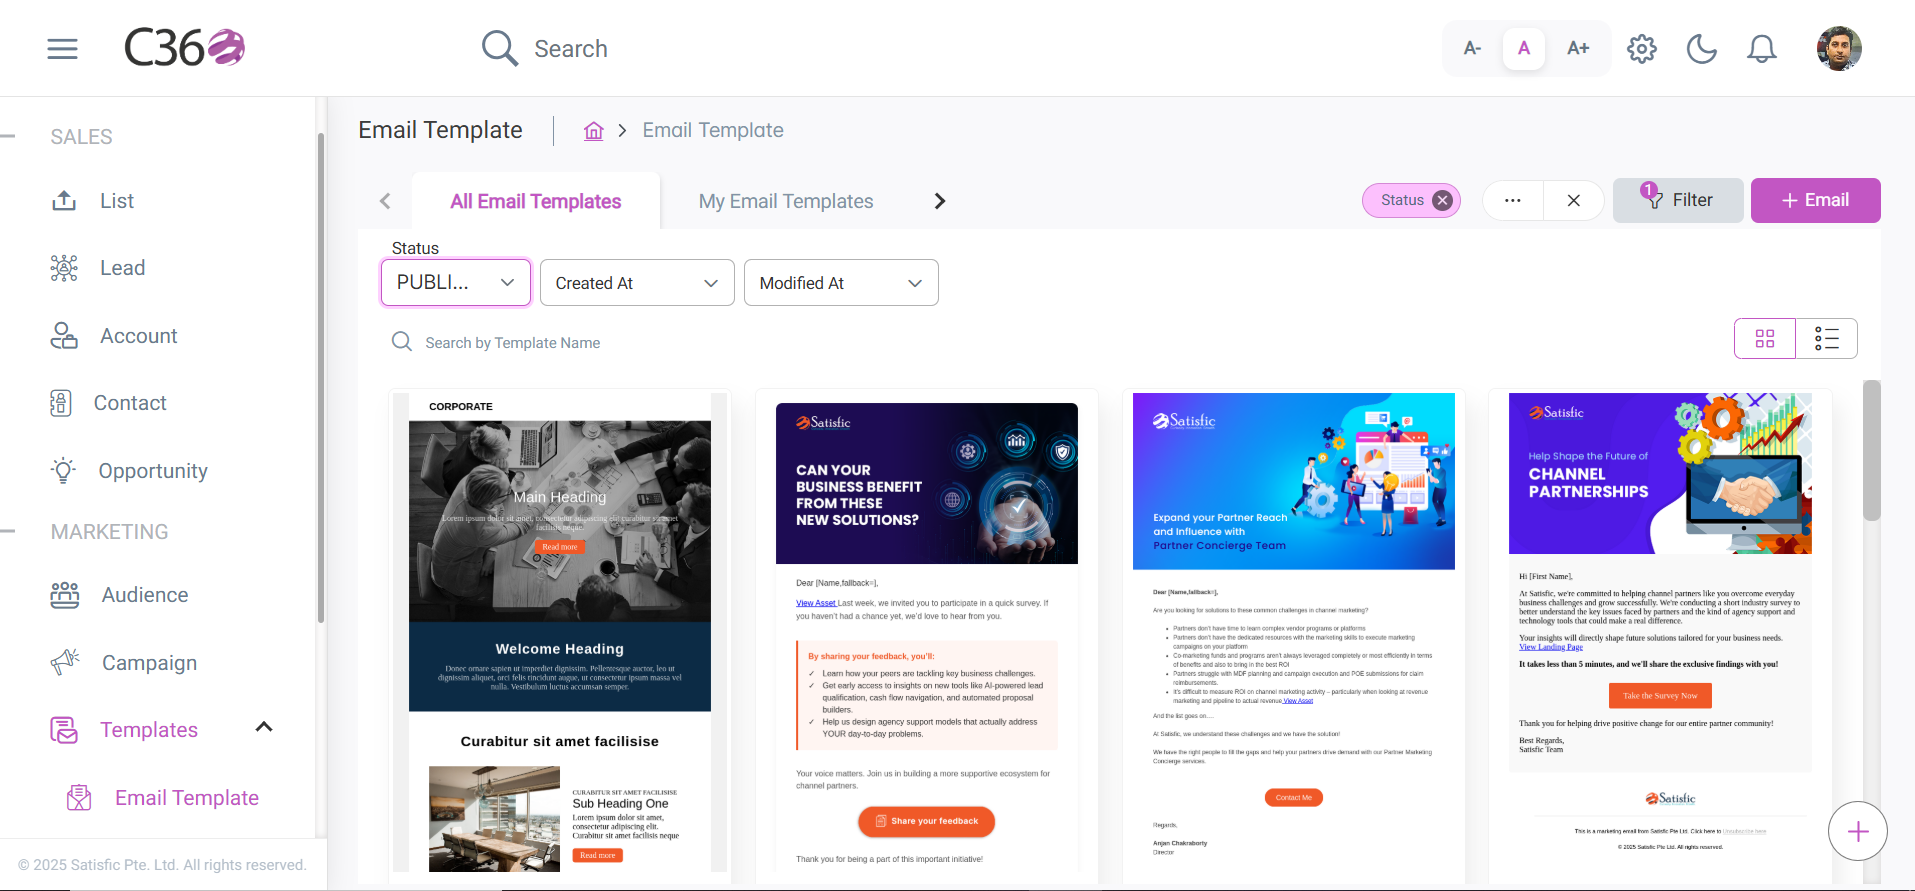
- Filter by Status, Created At, and Modified At.
- View applied filters beside filter section (with option to clear).
- All Email Templates/ My Email Templates/ Email Templates Assigned To Me
- All Email Templates: Created by me/Assigned to me/Created by below users.
- My Email Templates: Created by me.
- Email Templates Assigned To Me: Email templates that were assigned to me by another user.
👥 Assigning Emails
Emails in Published state can be assigned to groups:
➡️ Select template(s) → Click Assign To.
🗑️ Deleting Email Template
- Select the checkbox(es) for the Email Template you want to delete.
- Click the Delete icon .
- Click on Yes from the confirmation pop-up if you want to delete.
➕ Create New Email
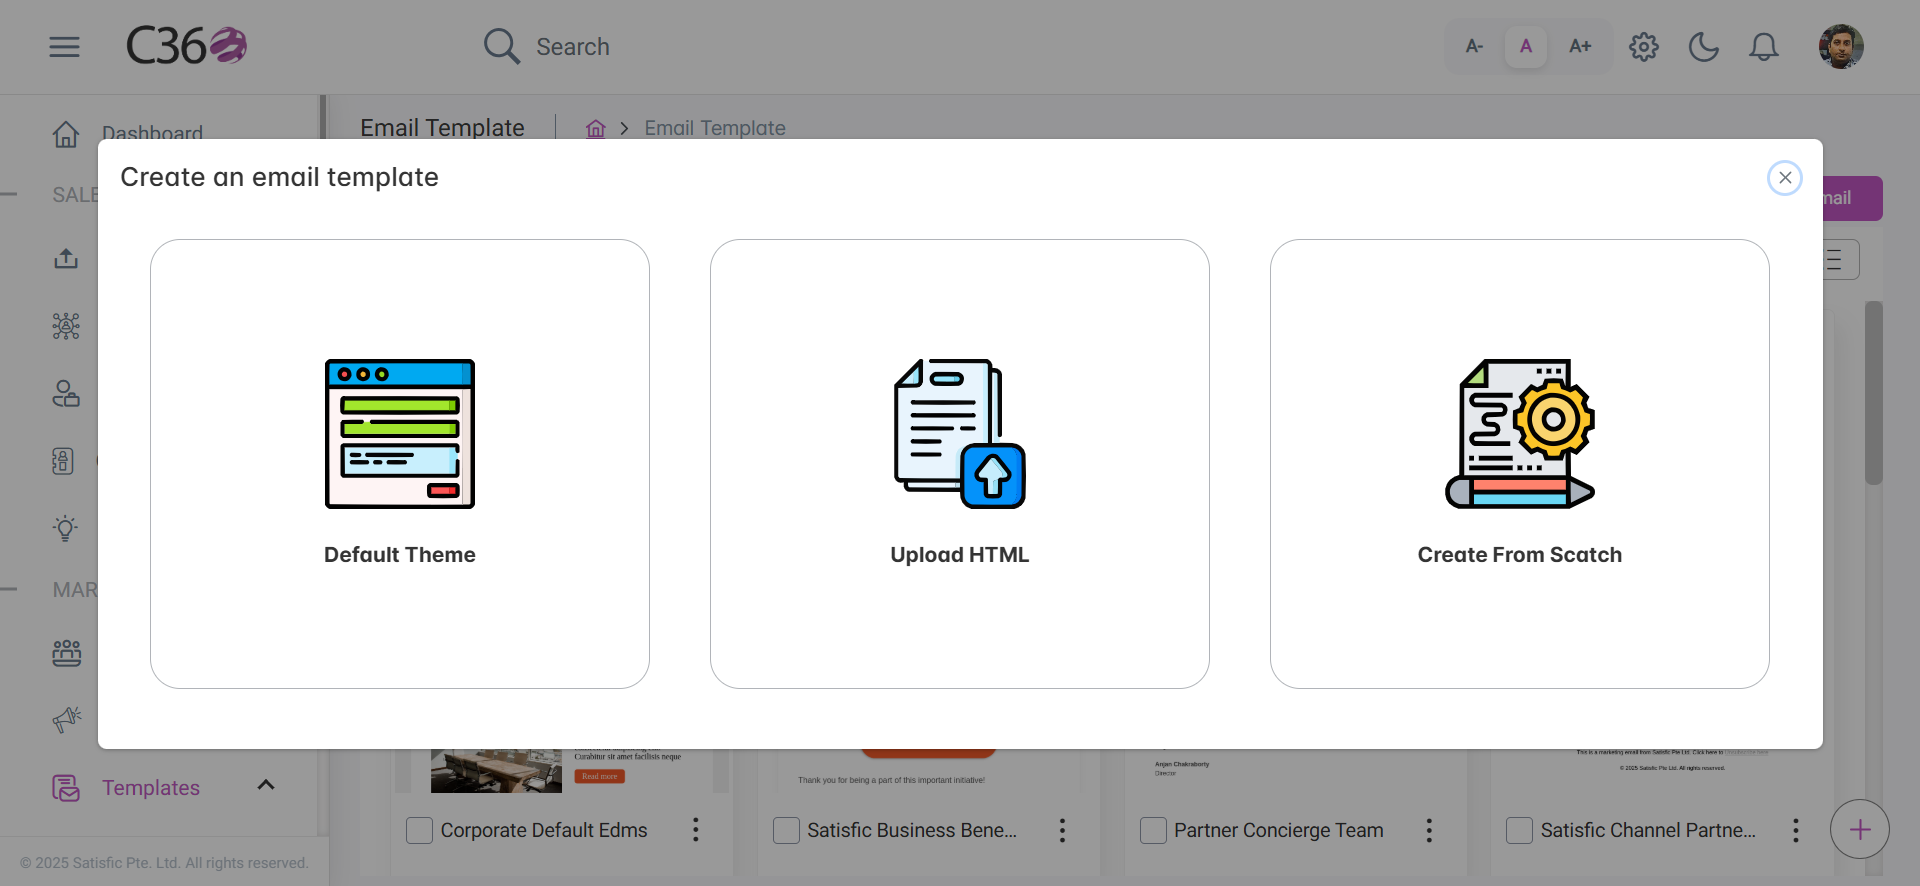
You can create an email in three ways:
- Add Email (top right).
- Choose one option:
- Default Theme – Pick from preloaded themes.
- Upload HTML – Import custom HTML file.
- Create from Scratch – Start blank.
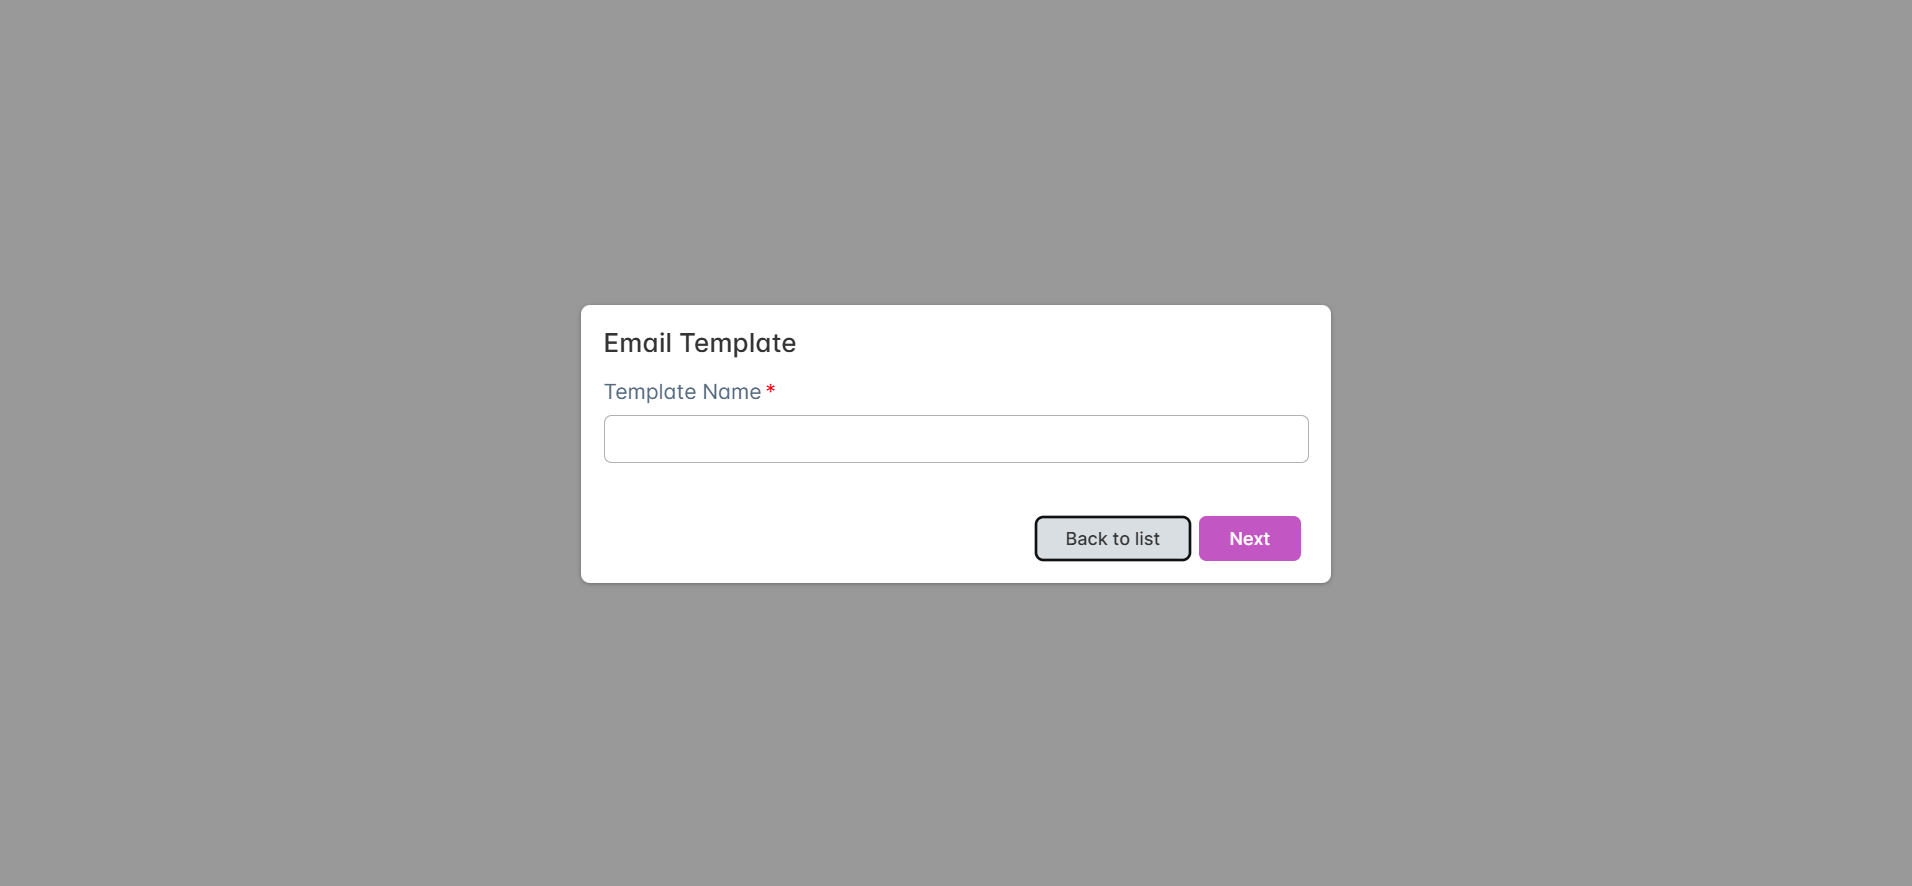
➡️ After choosing, you’ll be redirected to Email Editor:
📝 Steps to Create an Email
- Provide a Template Name → Click Next.
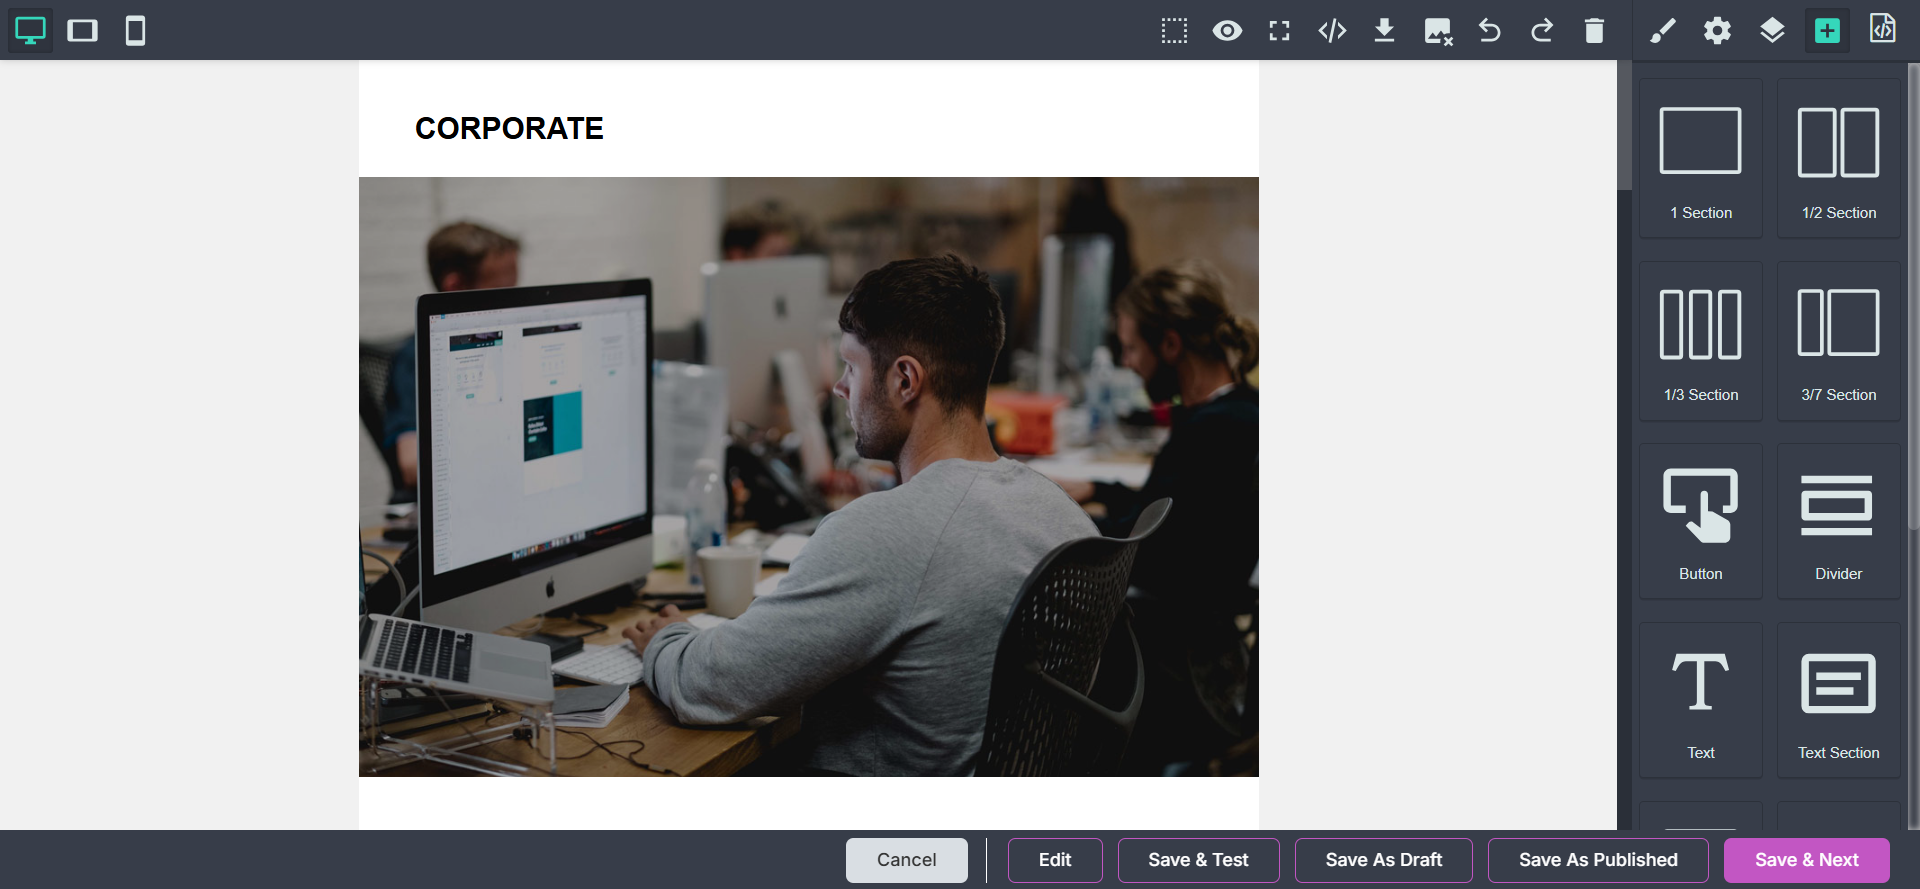
- Customize via editor (images, layout, menu tools).
- Use Action Available In Email Template GrapeJS:
- Save & Test – Save + test mail.
- Save & Close – Save and return.
- Save & Draft – Save as draft.
- Save & Next – Proceed next.
- Edit – Reopen for edits.
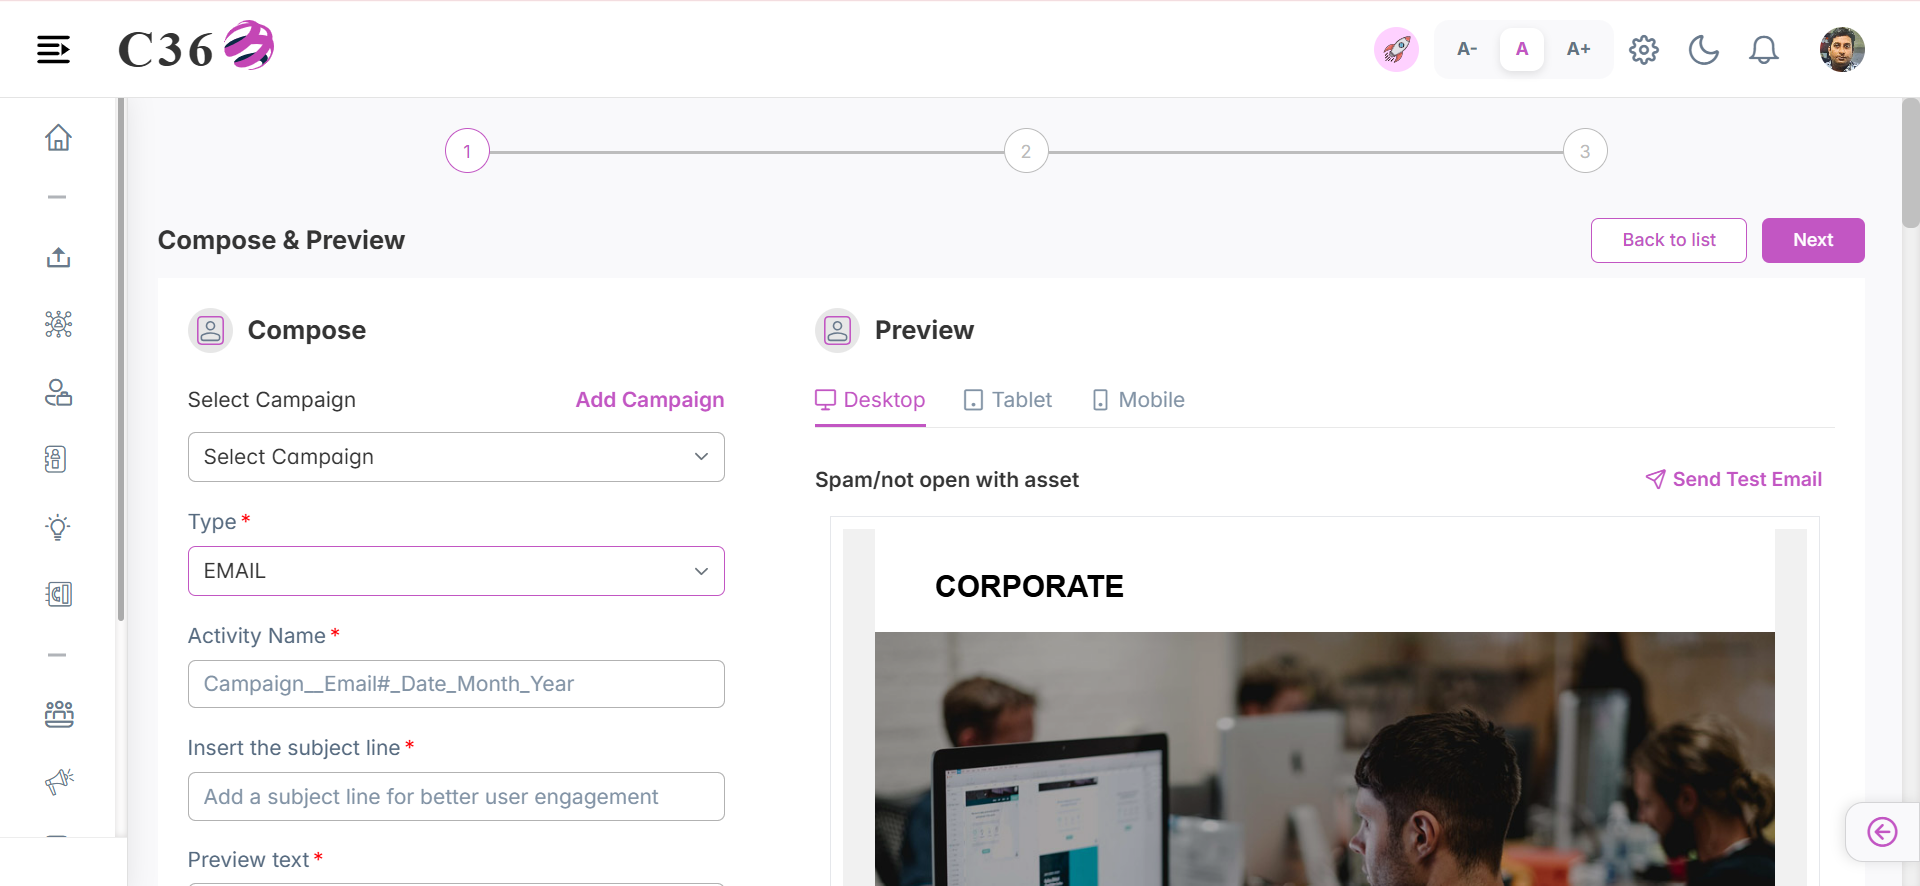
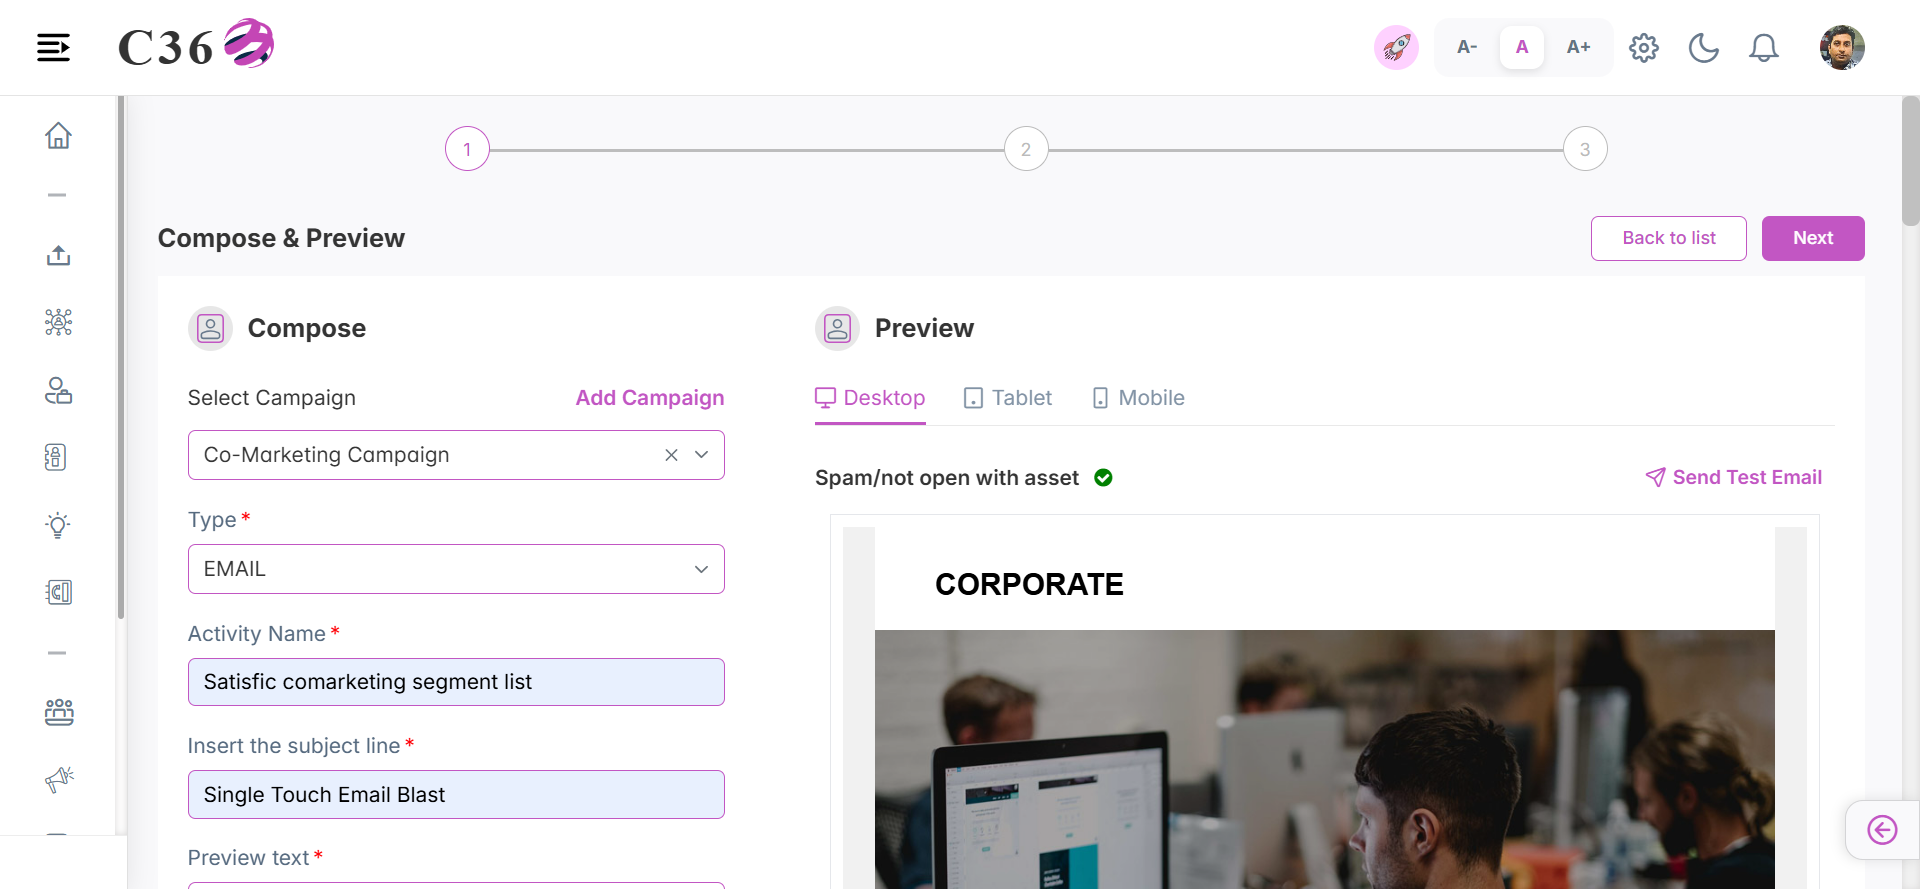
⚙️ Compose & Preview
x ➡️ After Save & Next, configure details:
- Fill mandatory fields.
- Preview email.
- Click Next.
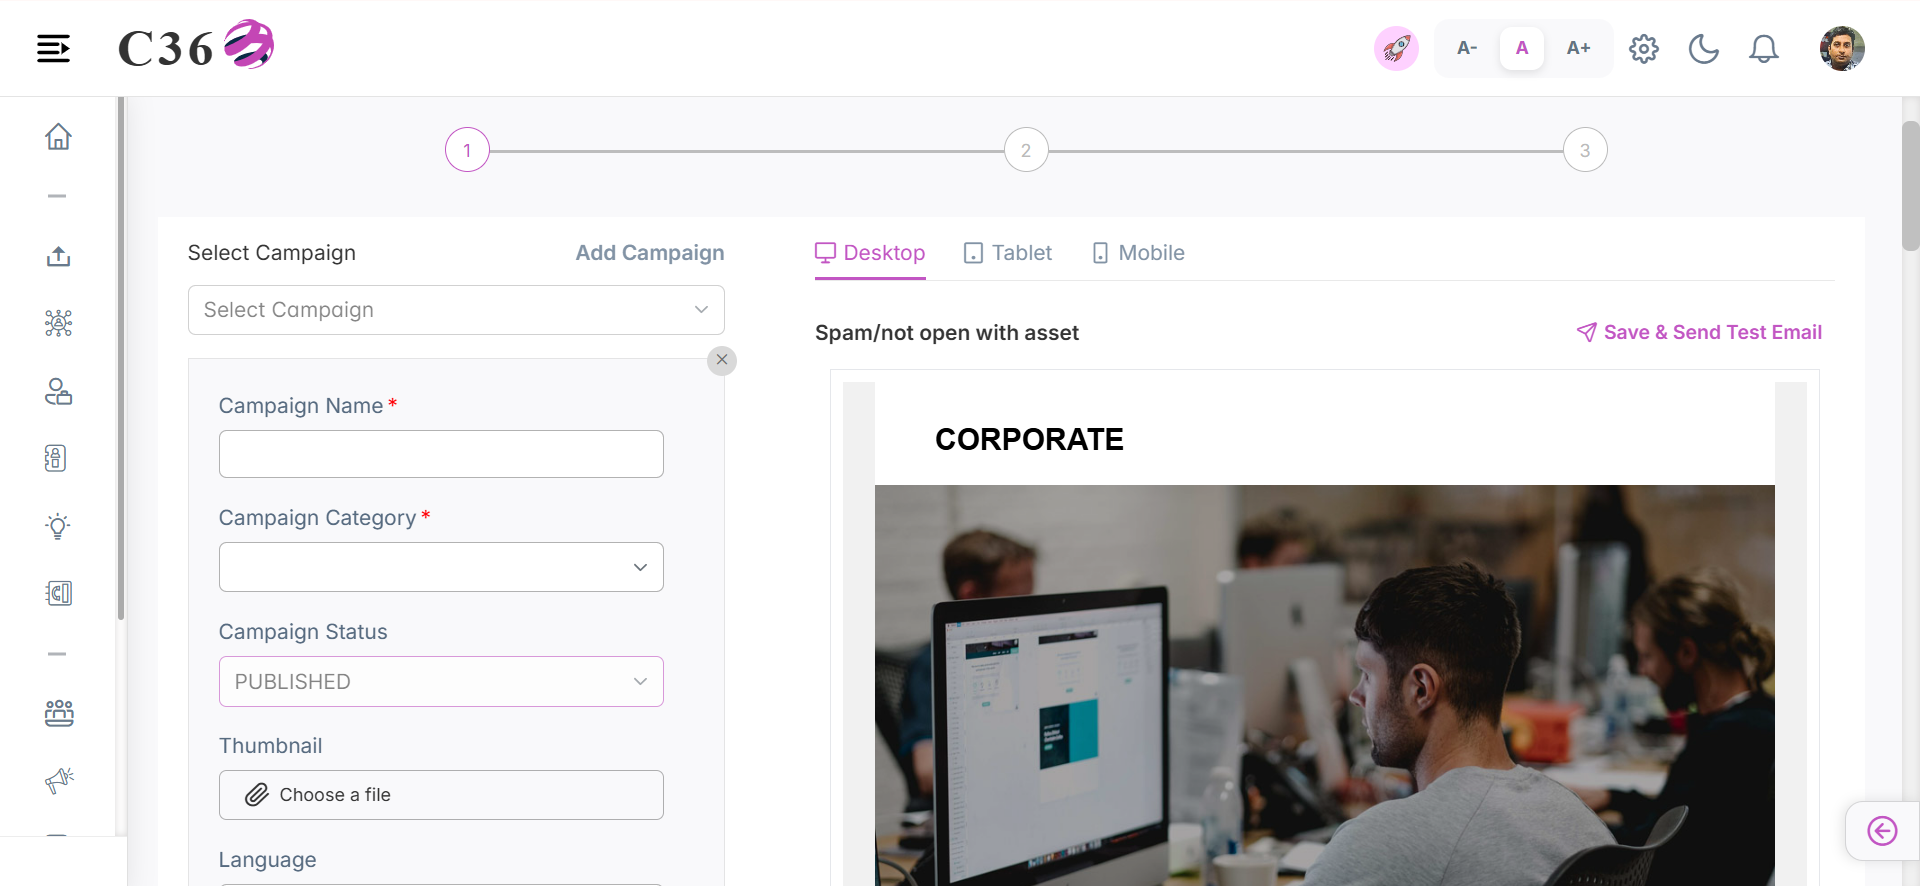
If no campaign exists → ➕ Add Campaign:
👀 Testing
- Test Mail → Send to users.
- Add recipient → Send test.
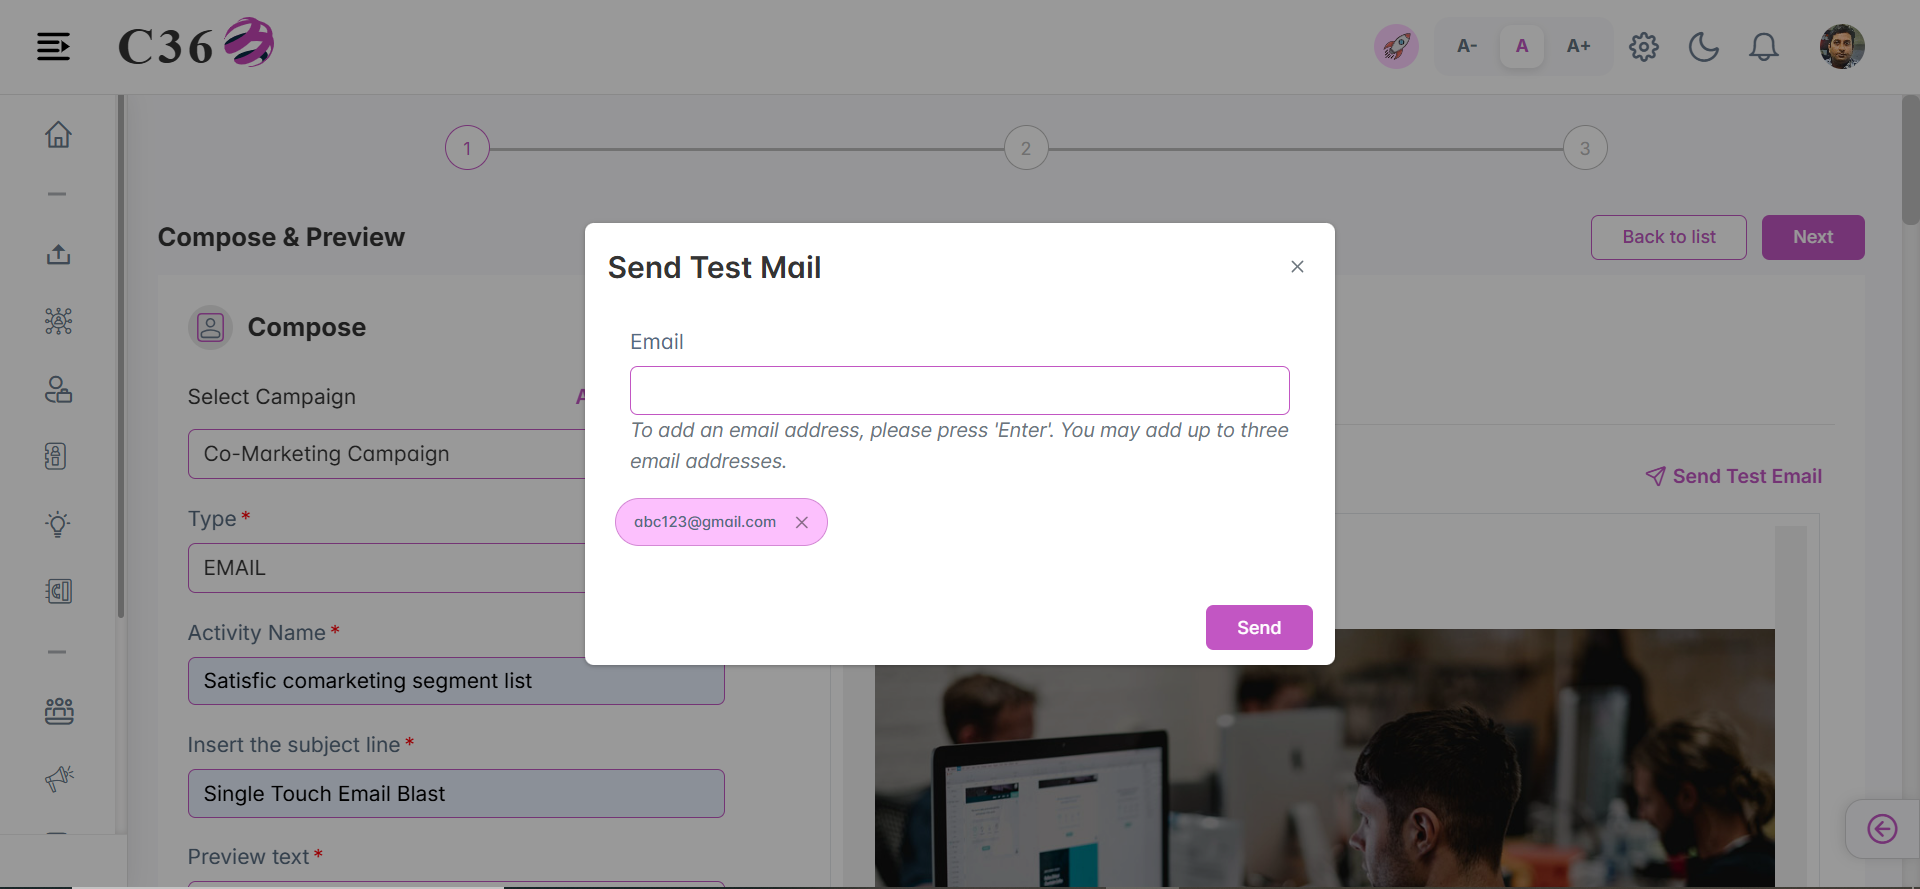
➡️ Proceed after test success:
👥 Select Audience
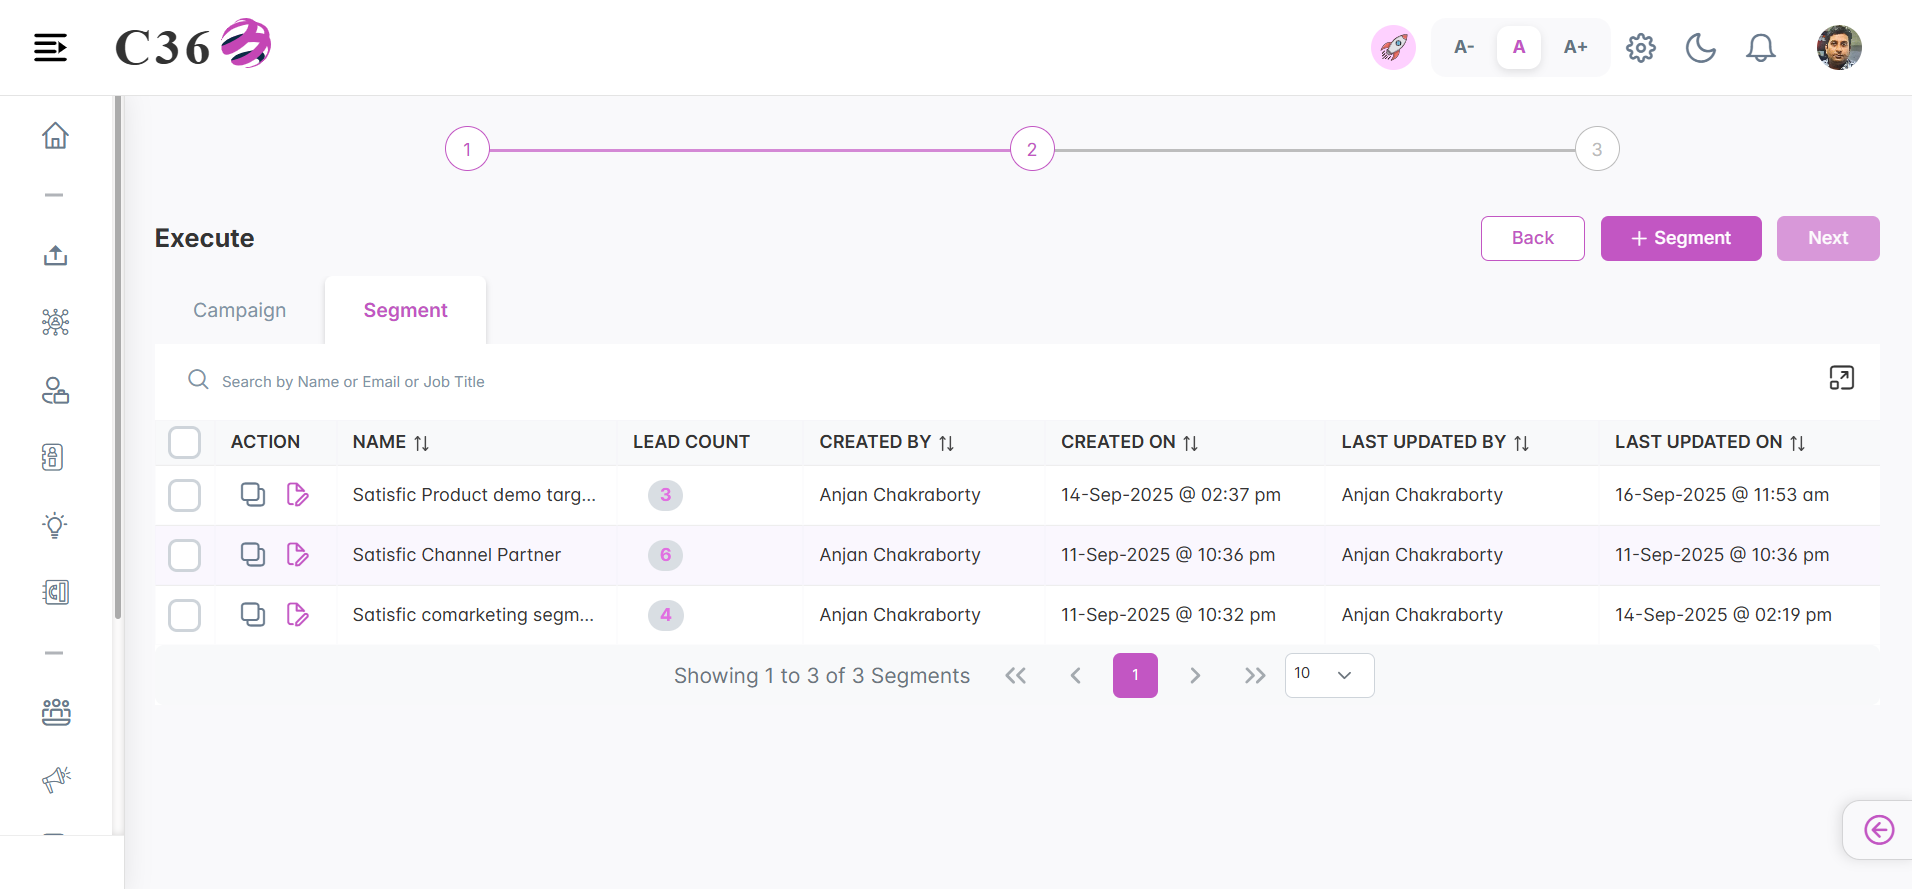
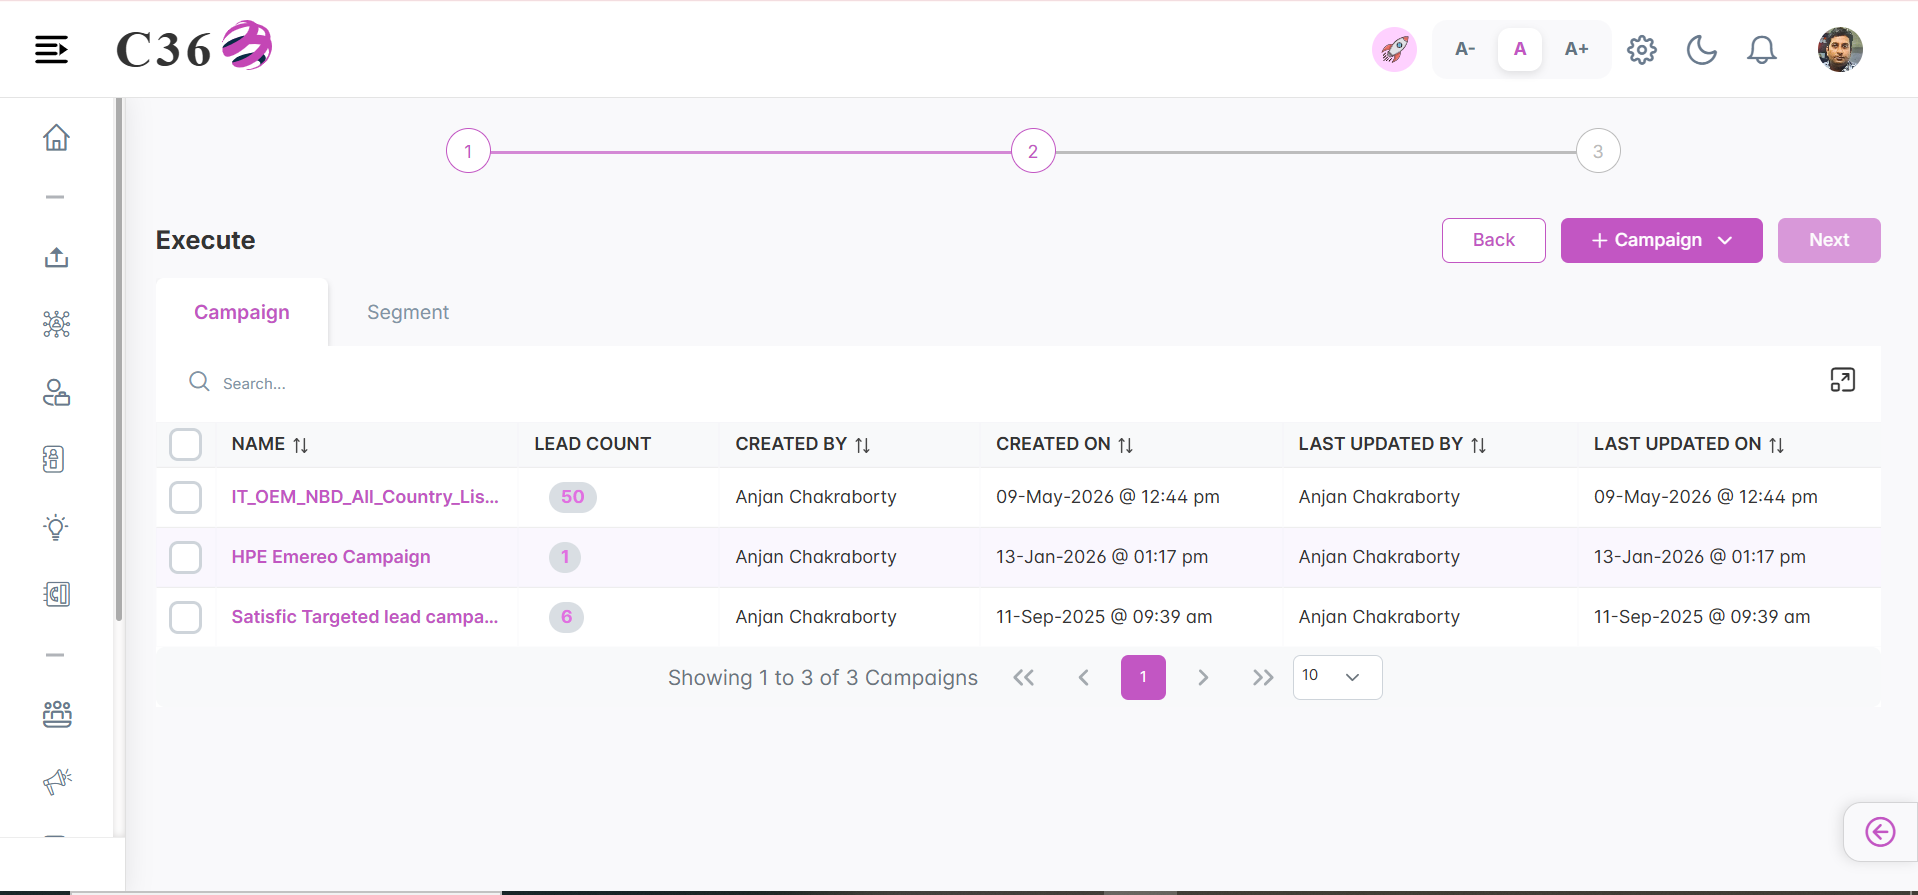
Pick audience list:
- Segment List – Leads by conditions.
- Campaign List – Upload lead list.
📤 Send Email
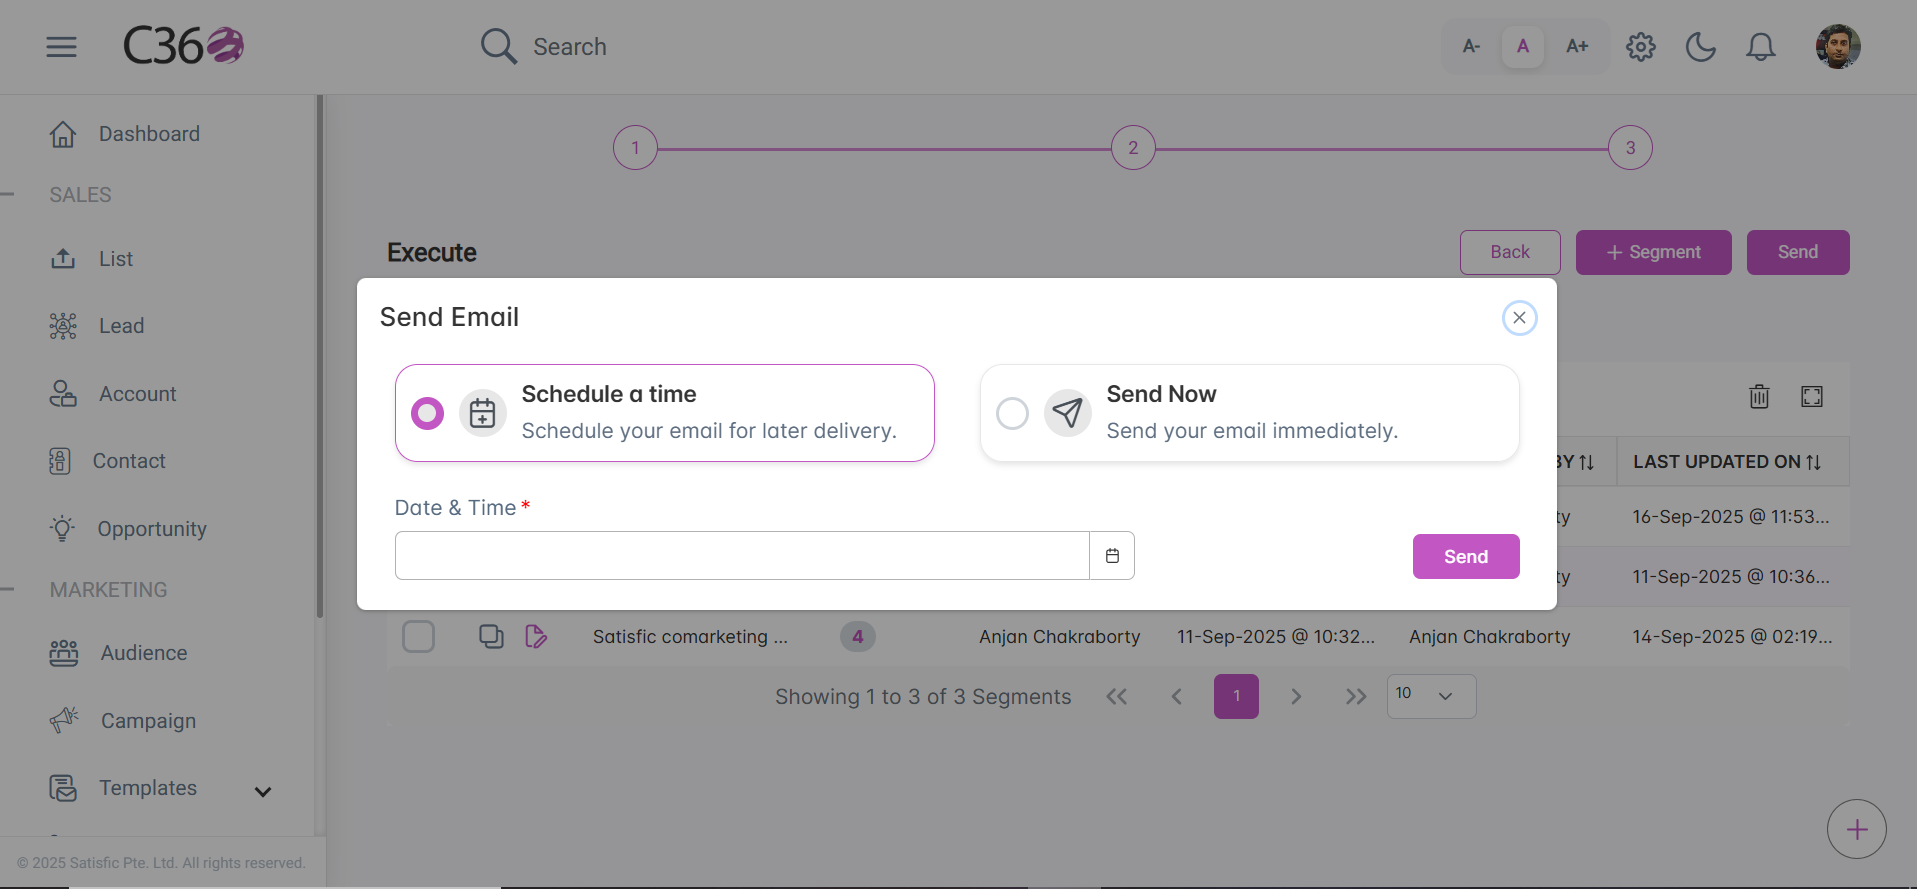
➡️ After selecting list, click Send.
Choose:
- Schedule a Time – Future delivery.
- Send Now – Immediate delivery.
✅ Your email will now be successfully delivered to the selected audience.