📂 Assets
The Assets module in C360 CRM helps you organize, manage, and track marketing resources like documents, videos, and infographics.
To access it:
➡️ Go to Marketing → Campaign Components → Assets from the left-hand menu.
🗂️ Asset Views
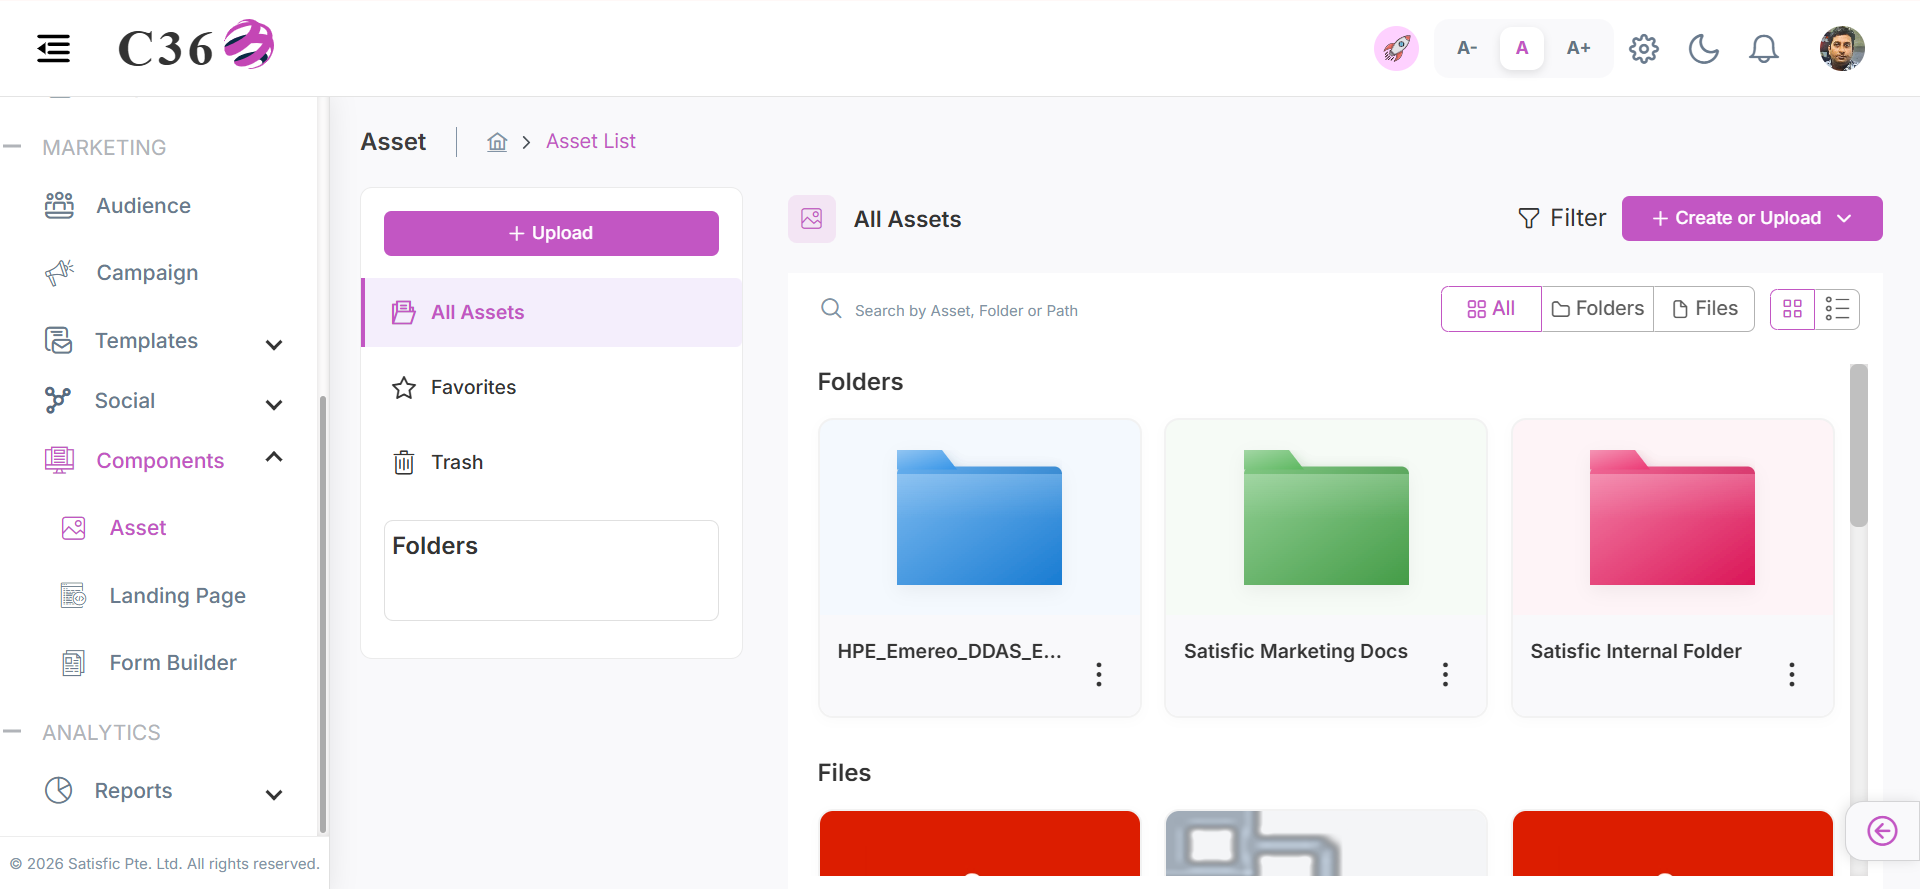
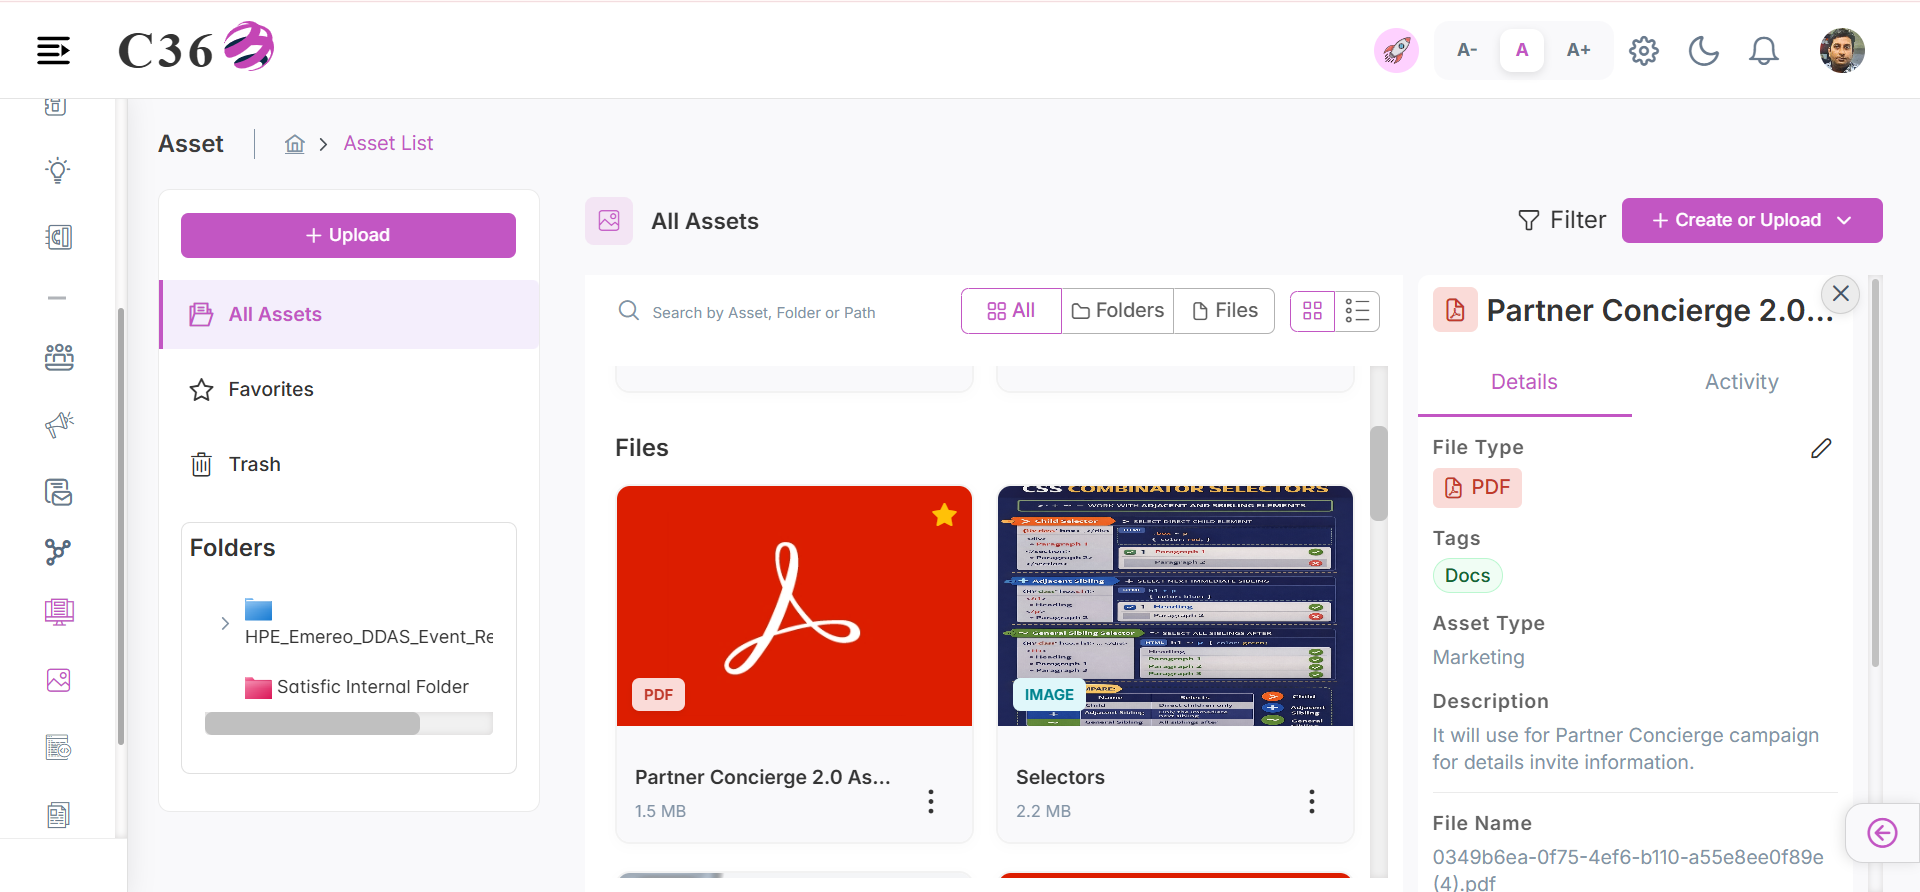
Assets can be viewed in Grid View or List View:
- 🔲 Grid View
- 📜 List View
- Grid View – Shows each asset as a card with quick actions (copy link, download, edit).
info
- You will find grid view of assets only in the All Assets sections.
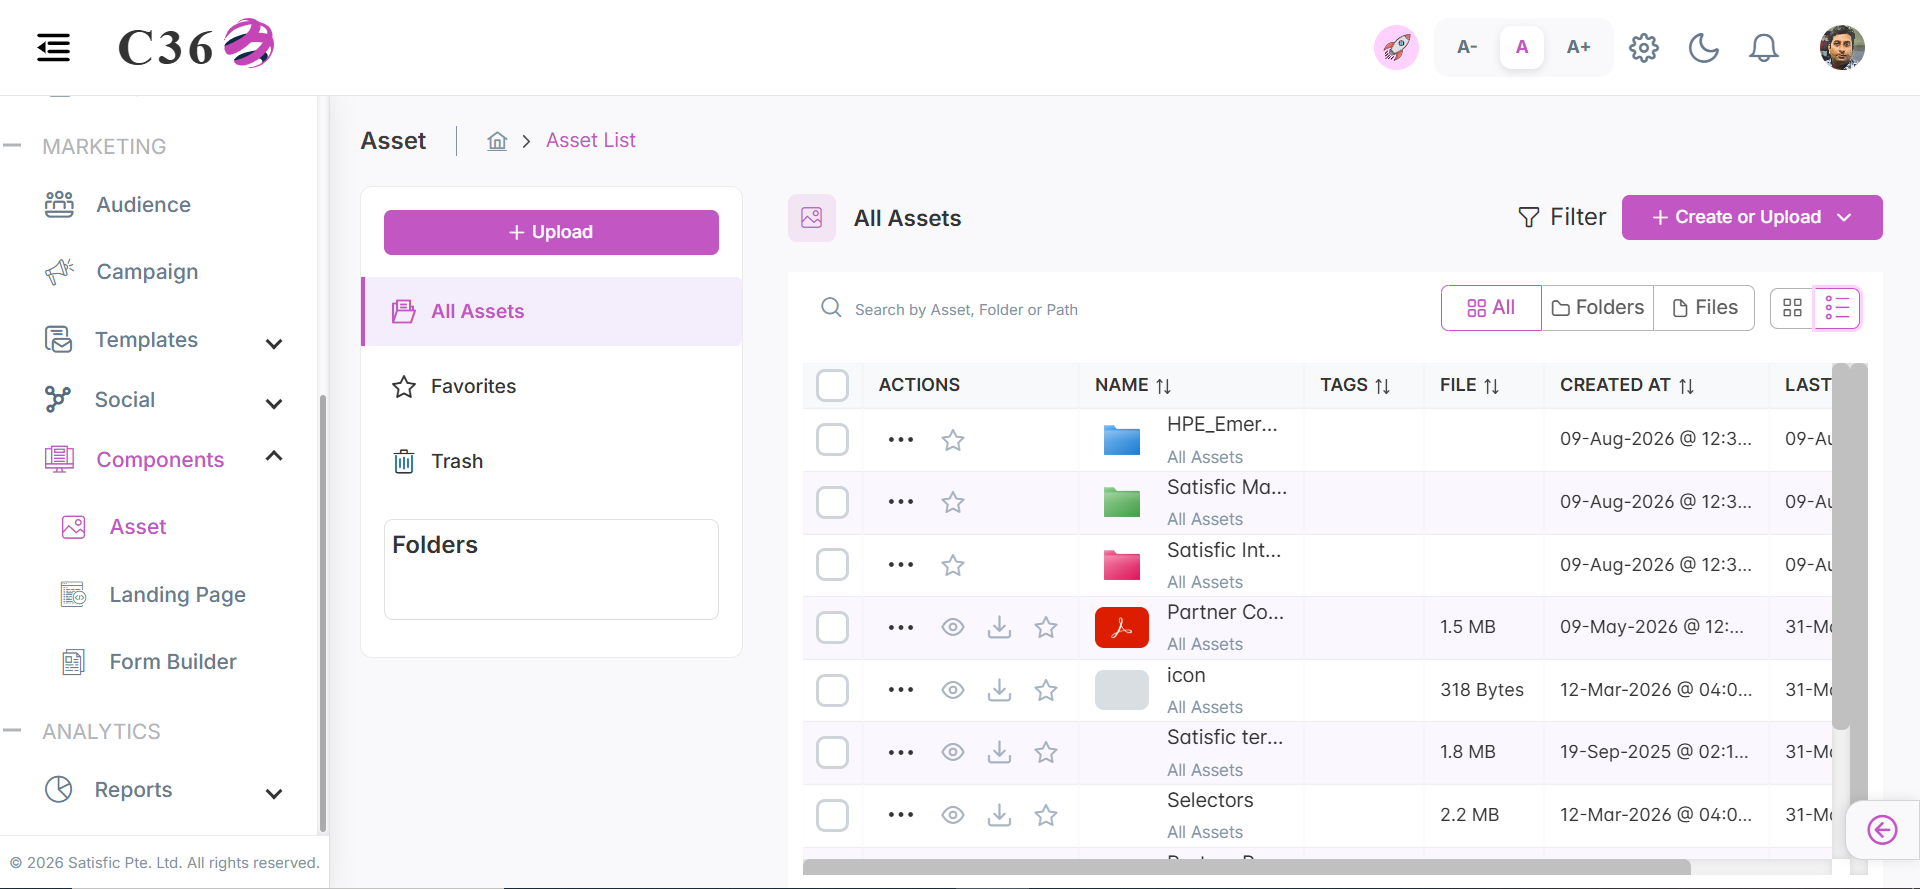
- List View – Shows assets in a table with columns like Name, Type, Created By, and Actions.
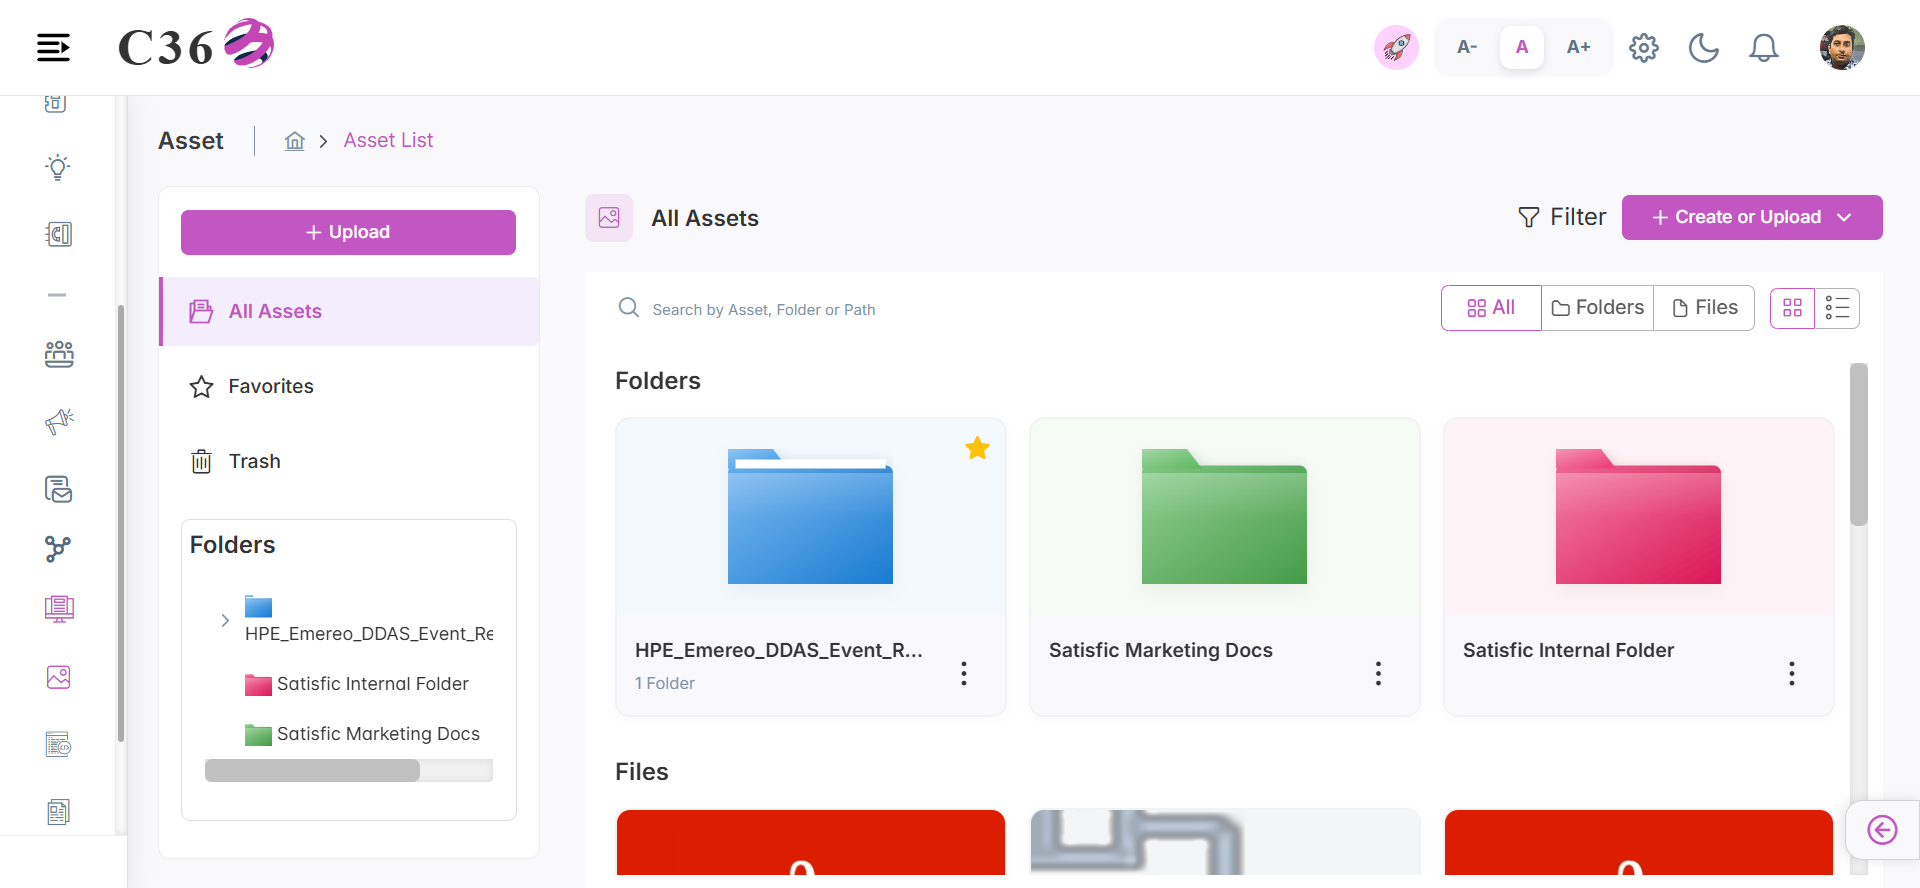
🧩Left Panel Components
- 📜 All Asset
- 📜 Favorite
- 📜 Trash
- The All Assets category provides a comprehensive view of every asset available in the system.
- It includes all active items across different categories, enabling users to browse, search, and manage their complete asset library from a single place.
🗂️ Actions Available In The All Asset Section
| Column | Description |
|---|---|
| Edit | Modify asset details such as name, content, or configuration. |
| Download | Download the asset to your local device.. |
| Move to Folder | Move the asset to a different folder for better organization. |
| Share | Share the asset with users or teams with controlled permissions. |
| Remove from Favorites | Remove the asset from the Favorites list while keeping it available in All Assets. |
| Copy | Create a duplicate of the asset for reuse or modification. |
| Manage Tags | Add, edit, or remove tags to organize and filter assets efficiently. |
| Folder / File Information | View details like folder name, owner, and asset count. |
| Move to Trash | Move the asset to Trash for temporary storage or permanent deletion. |
| Preview | Can view the files in the asset without downloading them. |
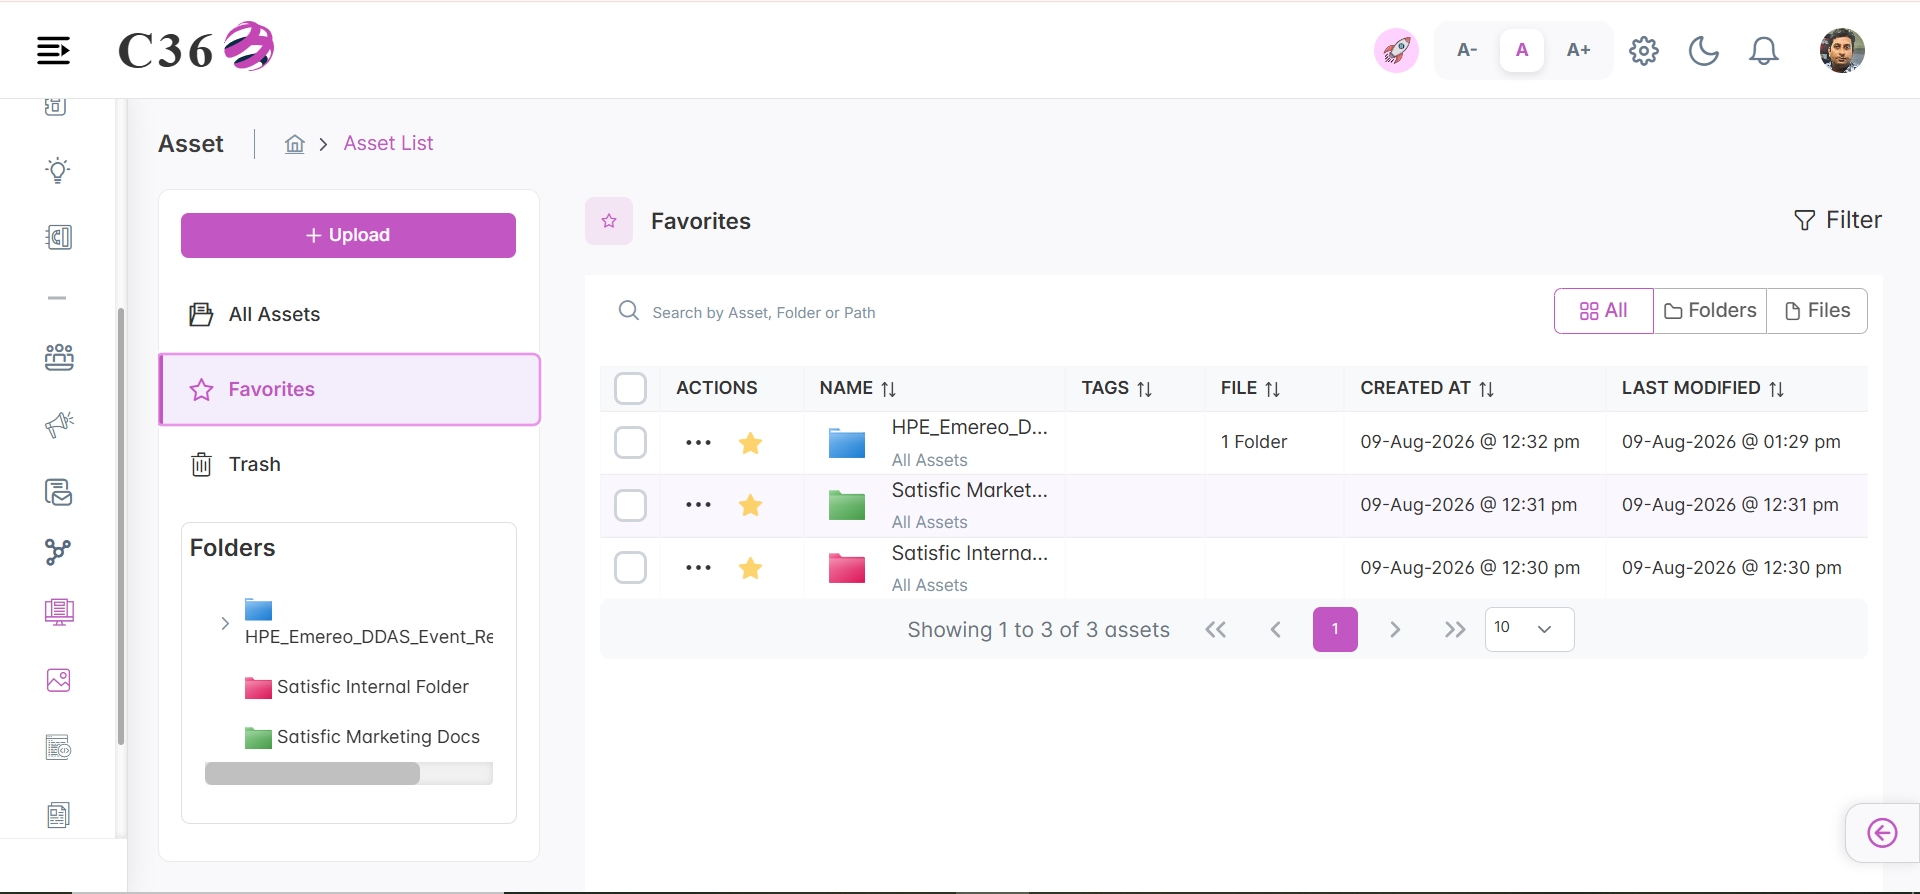
- Favorite Assets allow users to quickly access the items they use most frequently.
- By marking assets as favorites, users can save time and improve efficiency, ensuring that important files, templates, or resources are always easily accessible from a dedicated section.
⭐ Actions Available In The Favorites Section
| Column | Description |
|---|---|
| Edit | Modify asset details such as name, content, or configuration. |
| Move to Folder | Move the asset to a different folder for better organization. |
| Share | Share the asset with users or teams with controlled permissions. |
| Remove from Favorites | Remove the asset from the Favorites list while keeping it available in All Assets. |
| Copy | Create a duplicate of the asset for reuse or modification. |
| Manage Tags | Add, edit, or remove tags to organize and filter assets efficiently. |
| Folder / File Information | View details like folder name, owner, and asset count. |
| Move to Trash | Move the asset to Trash for temporary storage or permanent deletion. |
| Preview | Can view the files in the asset without downloading them. |
tip
- You can list favourite the records files and folders by clciking on Star Icon
|
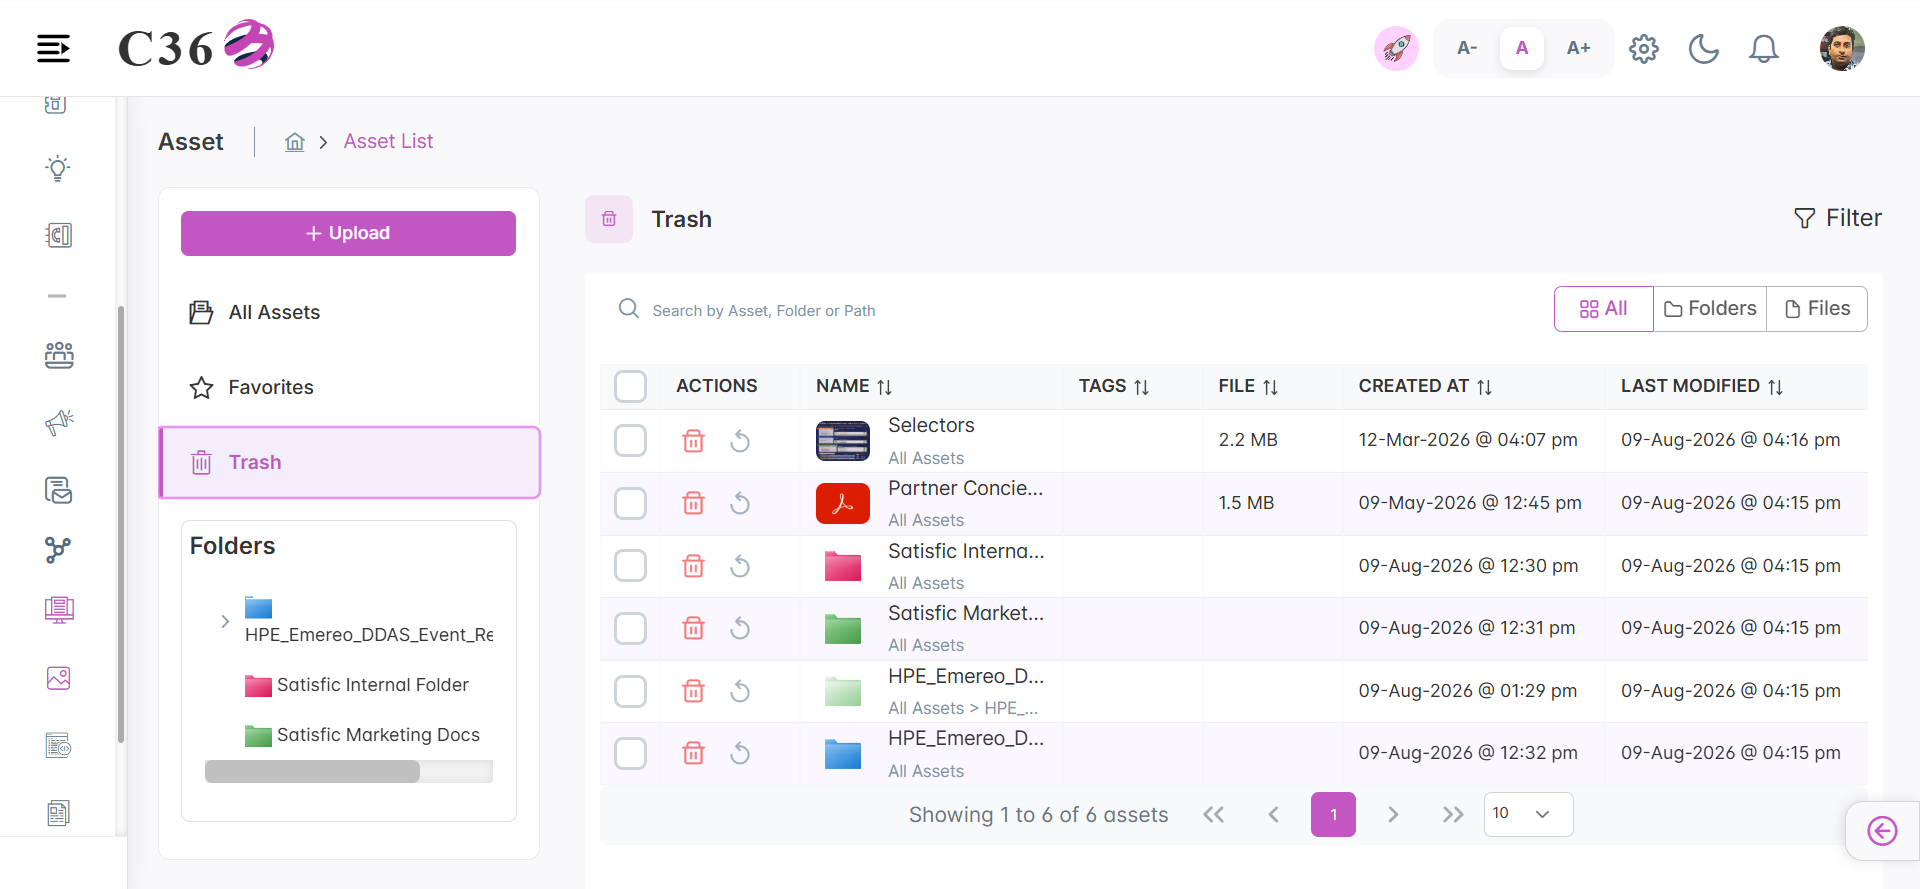
- The Trash category stores assets that have been deleted by users.
- Items in this section can be restored if needed or permanently removed after a certain period.
🗑️ Actions Available In The Trash Section
| Column | Description |
|---|---|
| Delete | Permanently delete the asset from the system. |
| Restore | Restore the asset to its original location. |
note
- Additionaly you can find the Tree Structure for the asset folders.
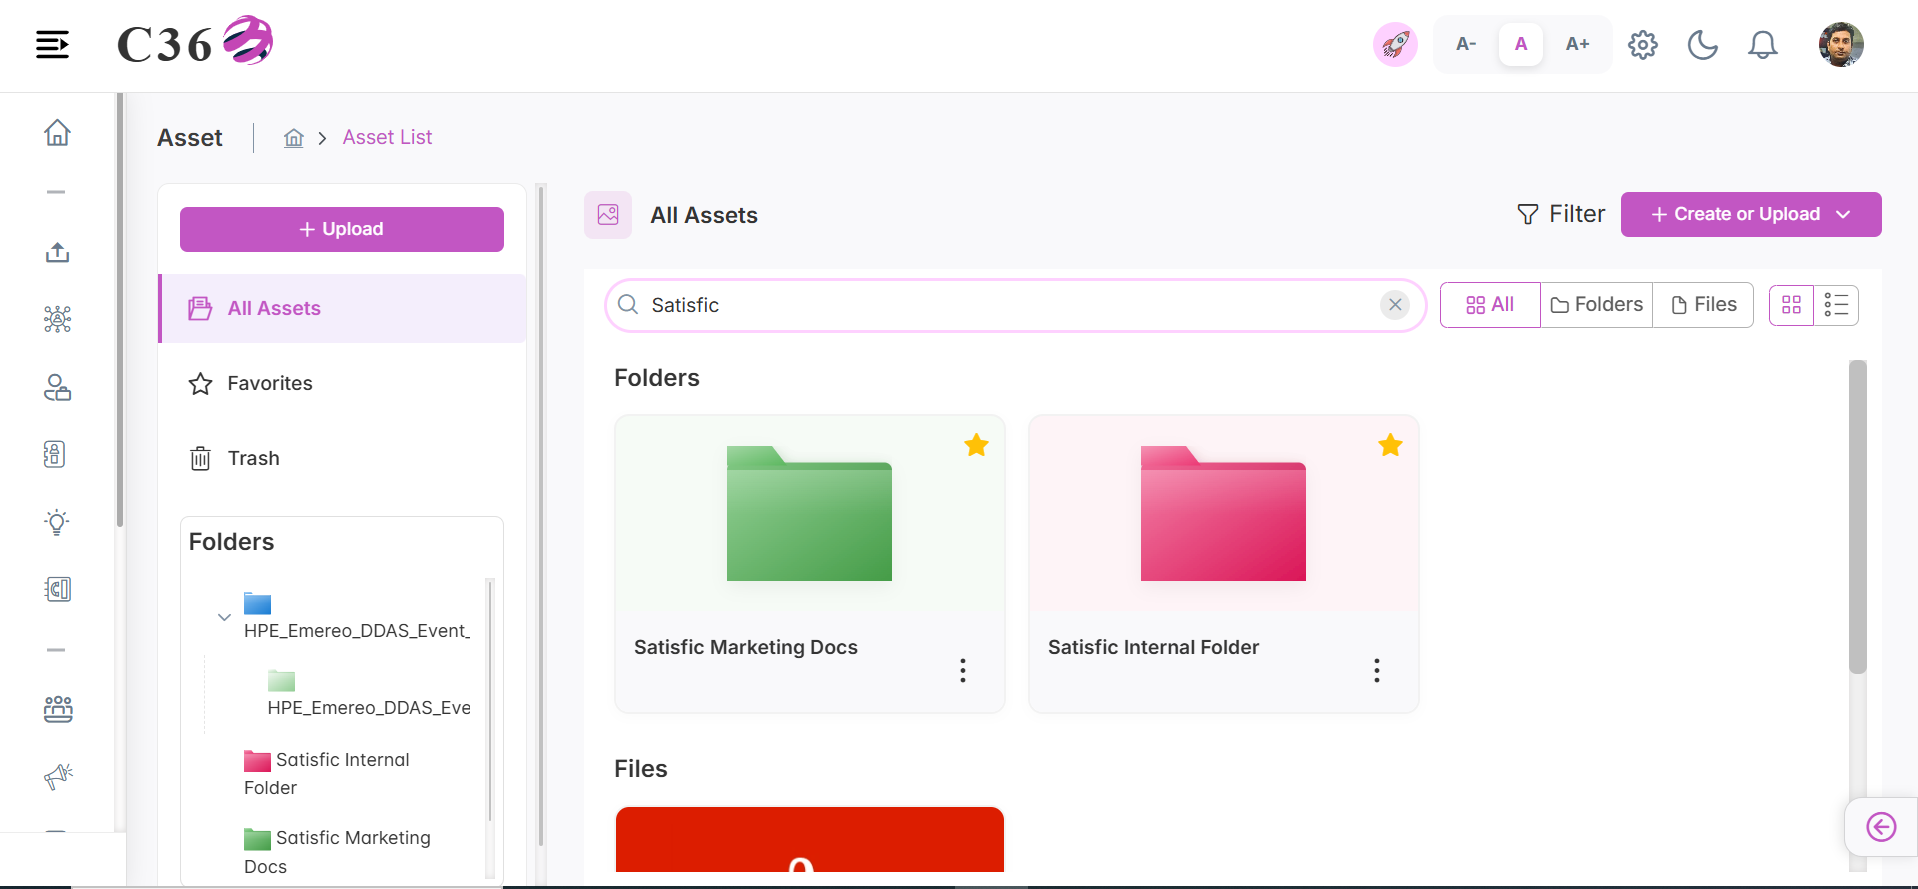
🔍Searching Assets
To search for assets:
➡️ Enter the title or details in the search bar and press Enter.
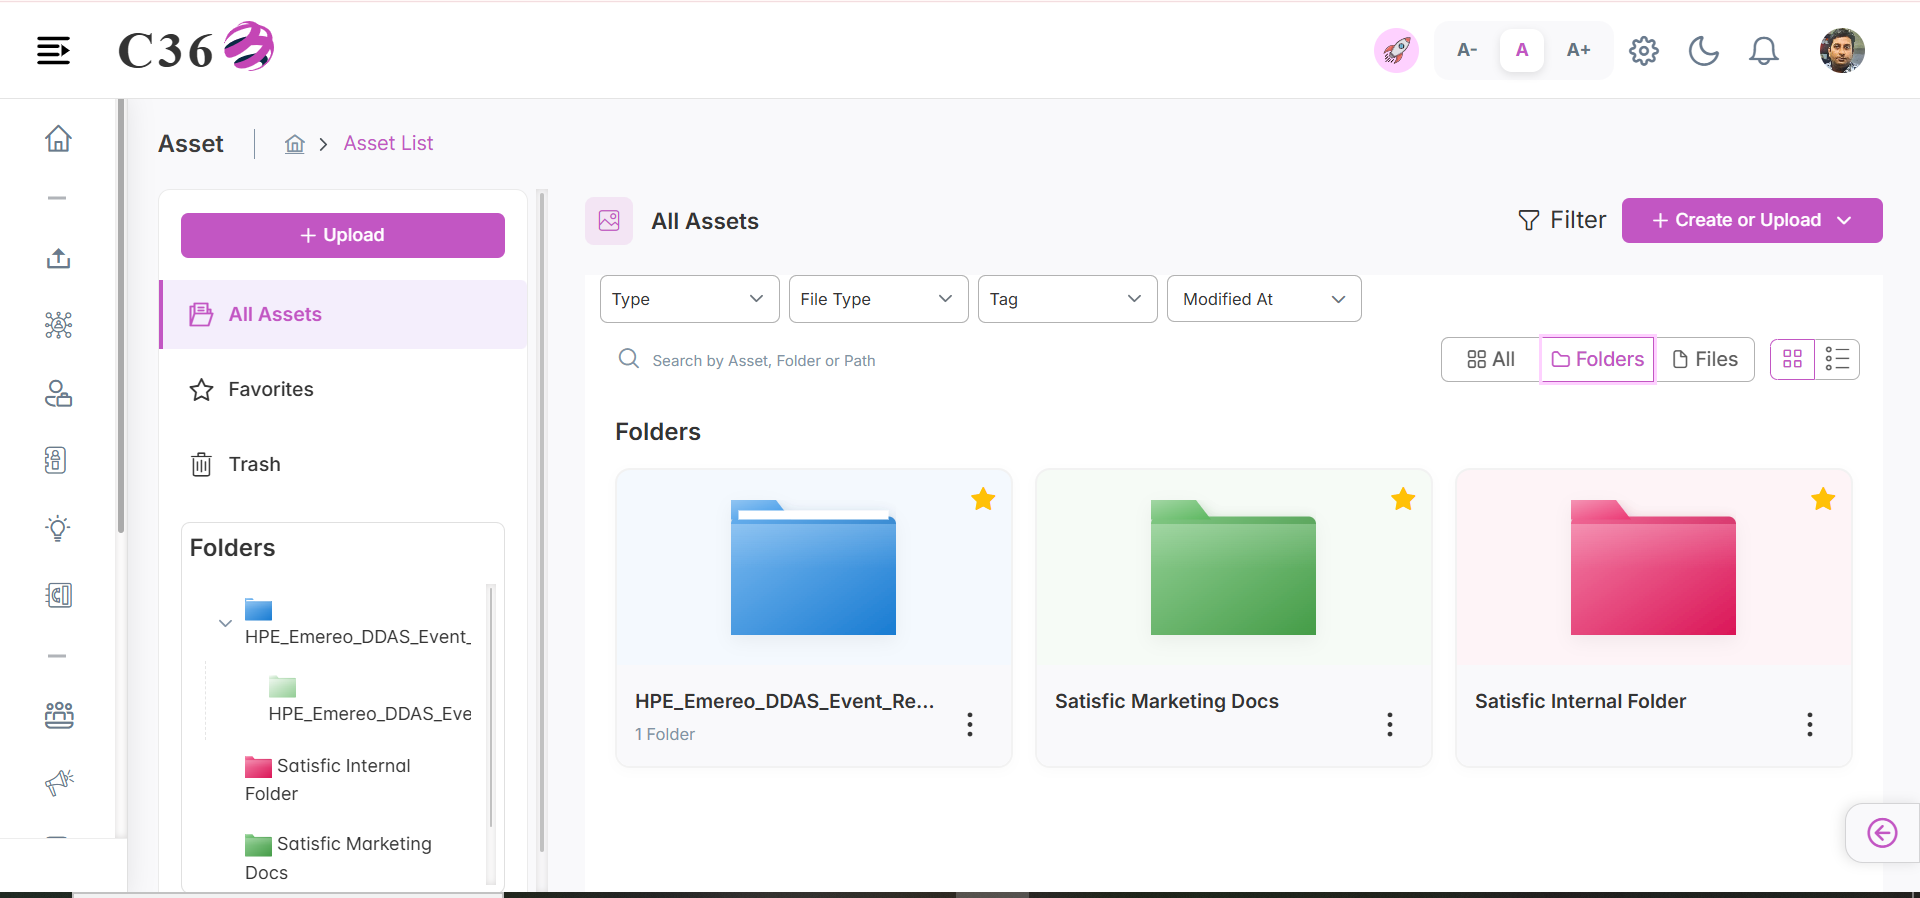
🎛️Filtering Assets
You can filter assets by:
- Category
- Type
- Created Date
- All Asset/ Folder / File
note
- All Assets: Visibility of all the assets in the system.
- Folder: Visibility of all the Folders in the system.
- File: Visibility of all the Files in the system.
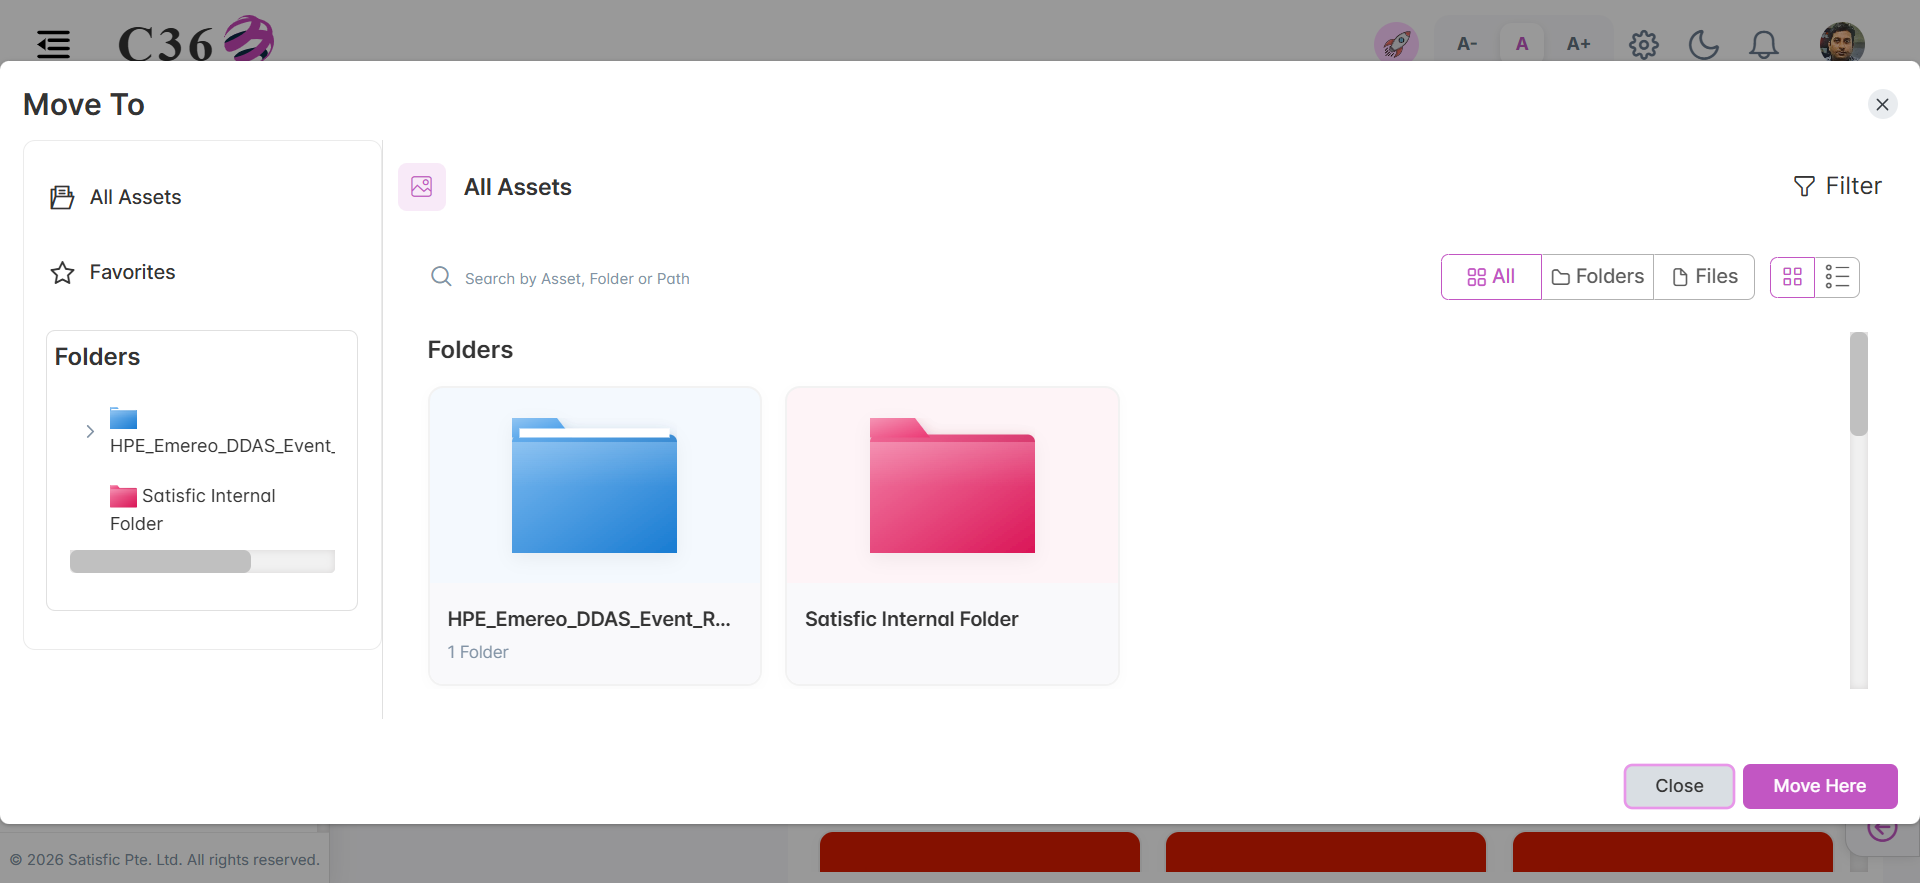
📂 Move To Folder
- Select the checkbox for the asset you want to move or click on three vertical dots..
- Click on the Move to Folder button.
- Selecte the folder.
- Click on Move.
note
- You can move both File and Folder to another folder.
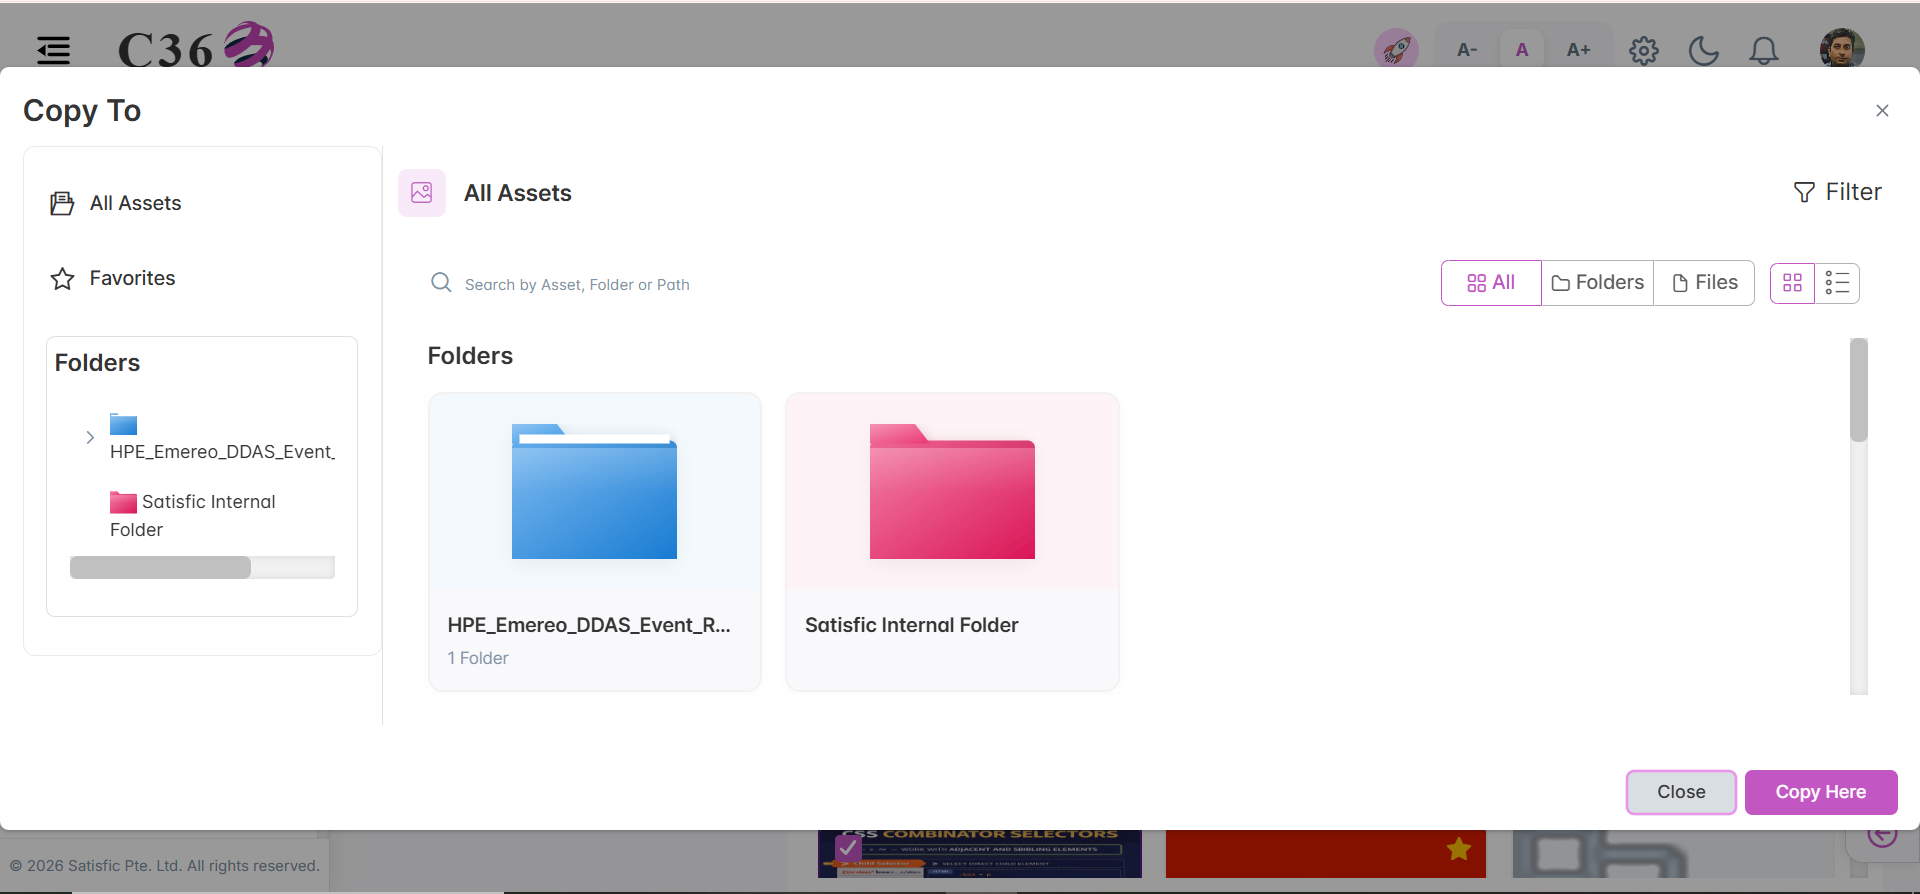
📋 Copy
- Select the checkbox for the asset you want to copy or click on three vertical dots.
- Click on the Copy button.
- Select the destination folder.
- Click on Copy.
note
- You can copy both File and Folder to another folder.
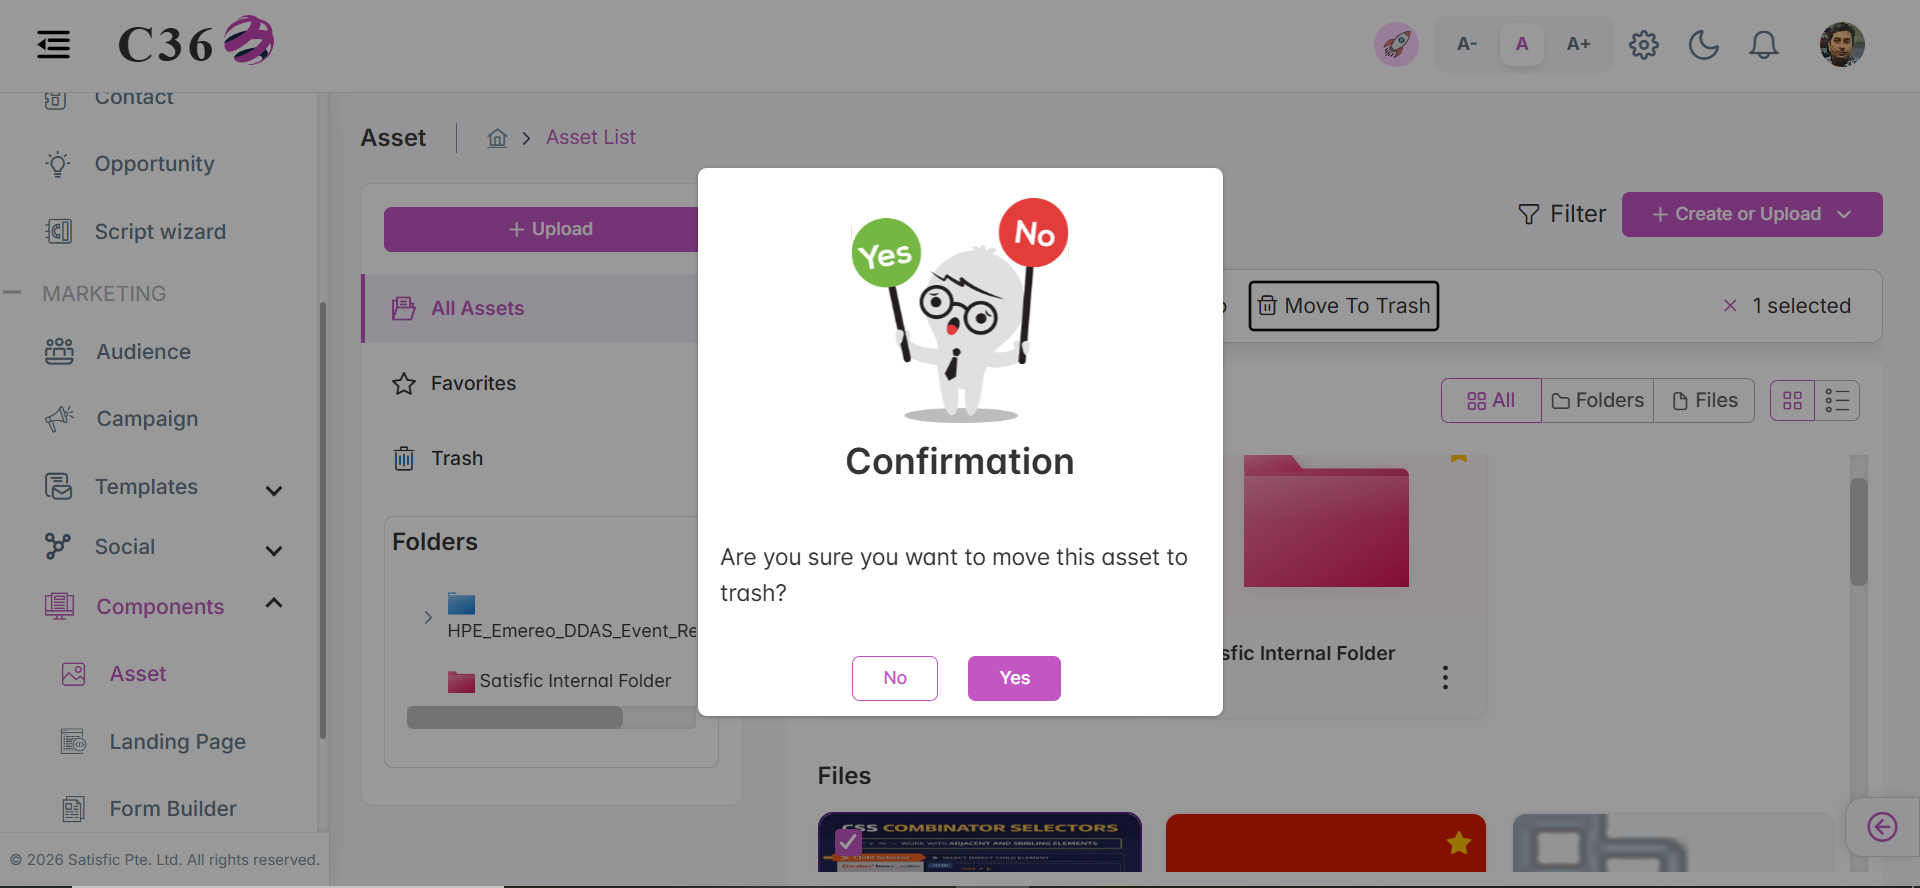
🗑️ Move To Trash
- Select the checkbox for the asset you want to move to trash or click on three vertical dots.
- Click on the Move to Trash button.
- Click on Yes.
note
- You can move both File and Folder to trash.
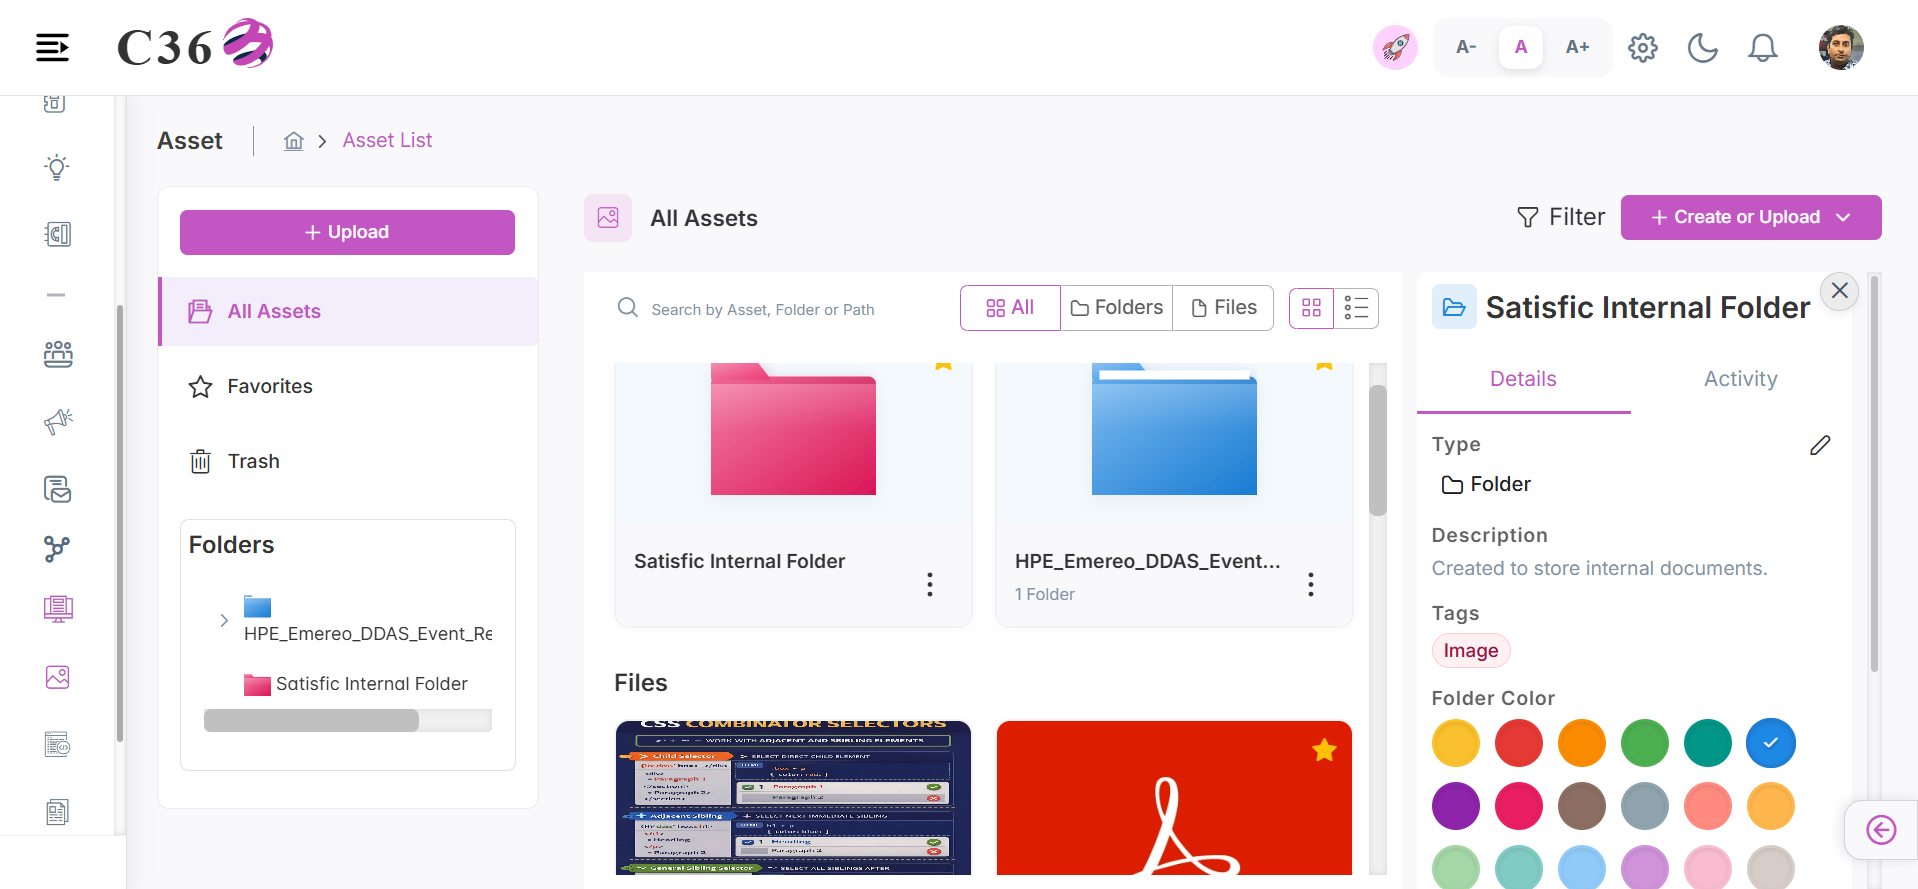
ⓘ File / Folder Information
- 📁 Folder Information
- 📄 File Information
- Click on the three vertical dots for the Folder you want to view information about.
- Click on Folder Information.
- Click on the three vertical dots for the File you want to view information about.
- Click on File Information.
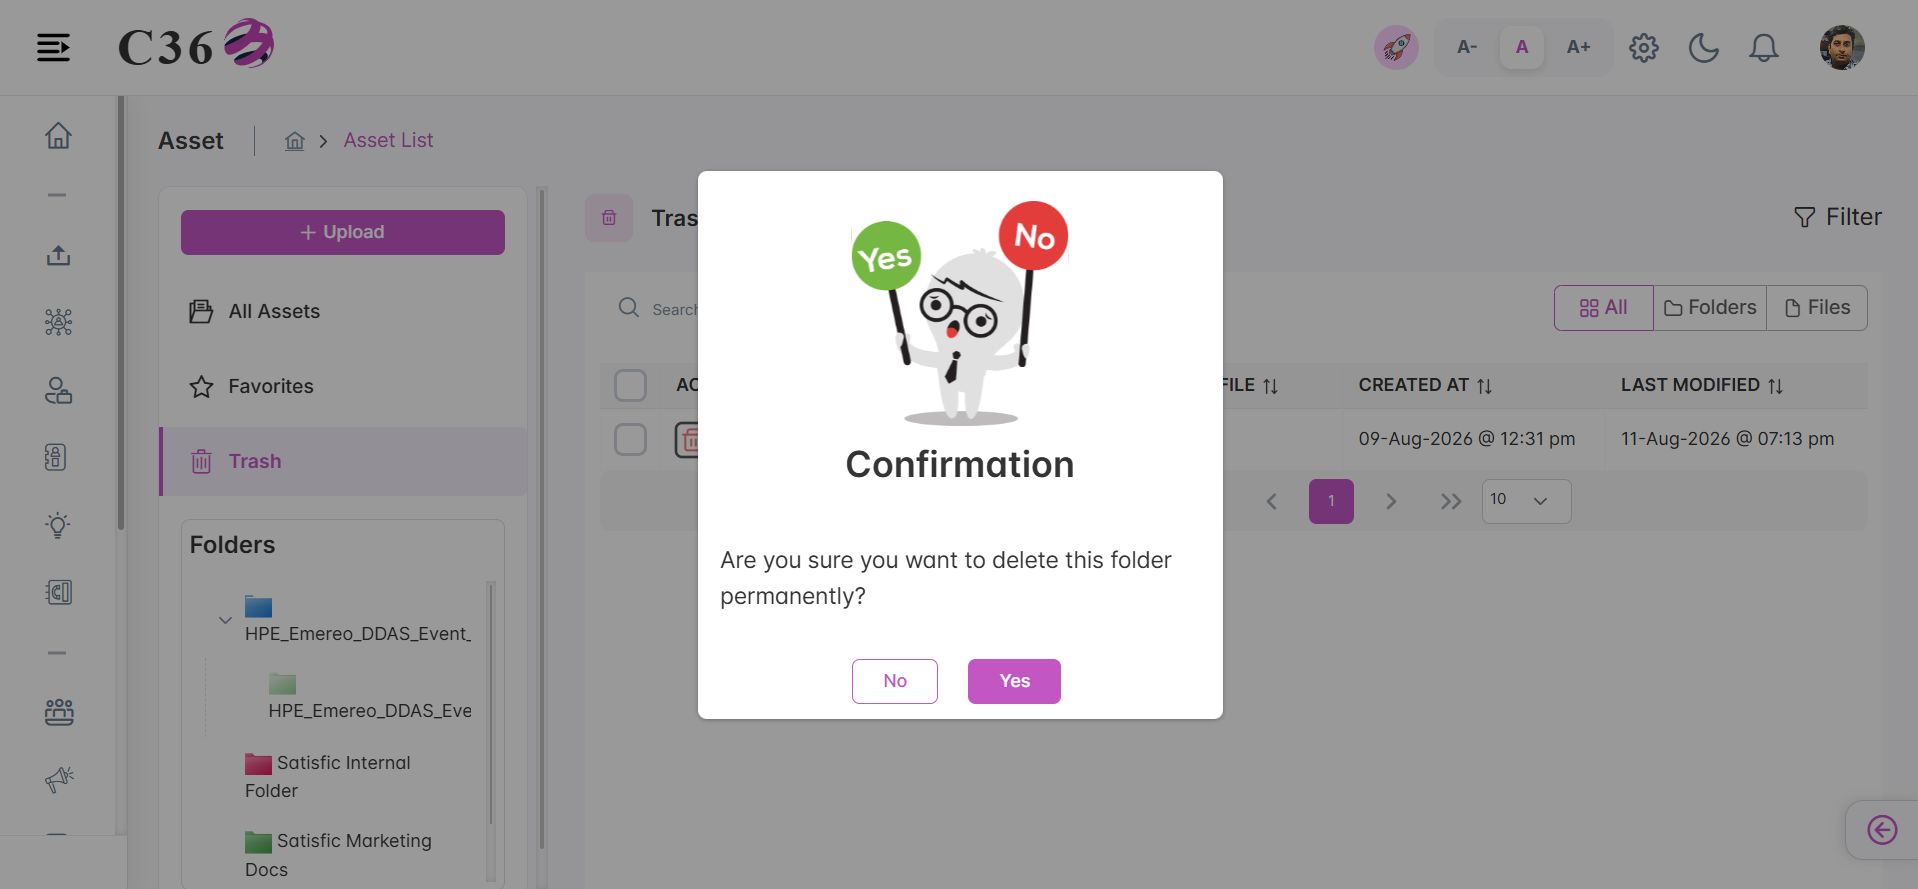
🗑️ Deleting Asset
- Go to Trash section.
- Select the checkbox(es) for the assets you want to delete.
- Click the Delete icon .
- Click on Yes from the confirmation pop-up if you want to delete.
✏️ Add or Edit Asset
To add an asset:
- Asset categories in two types: Folder and File.
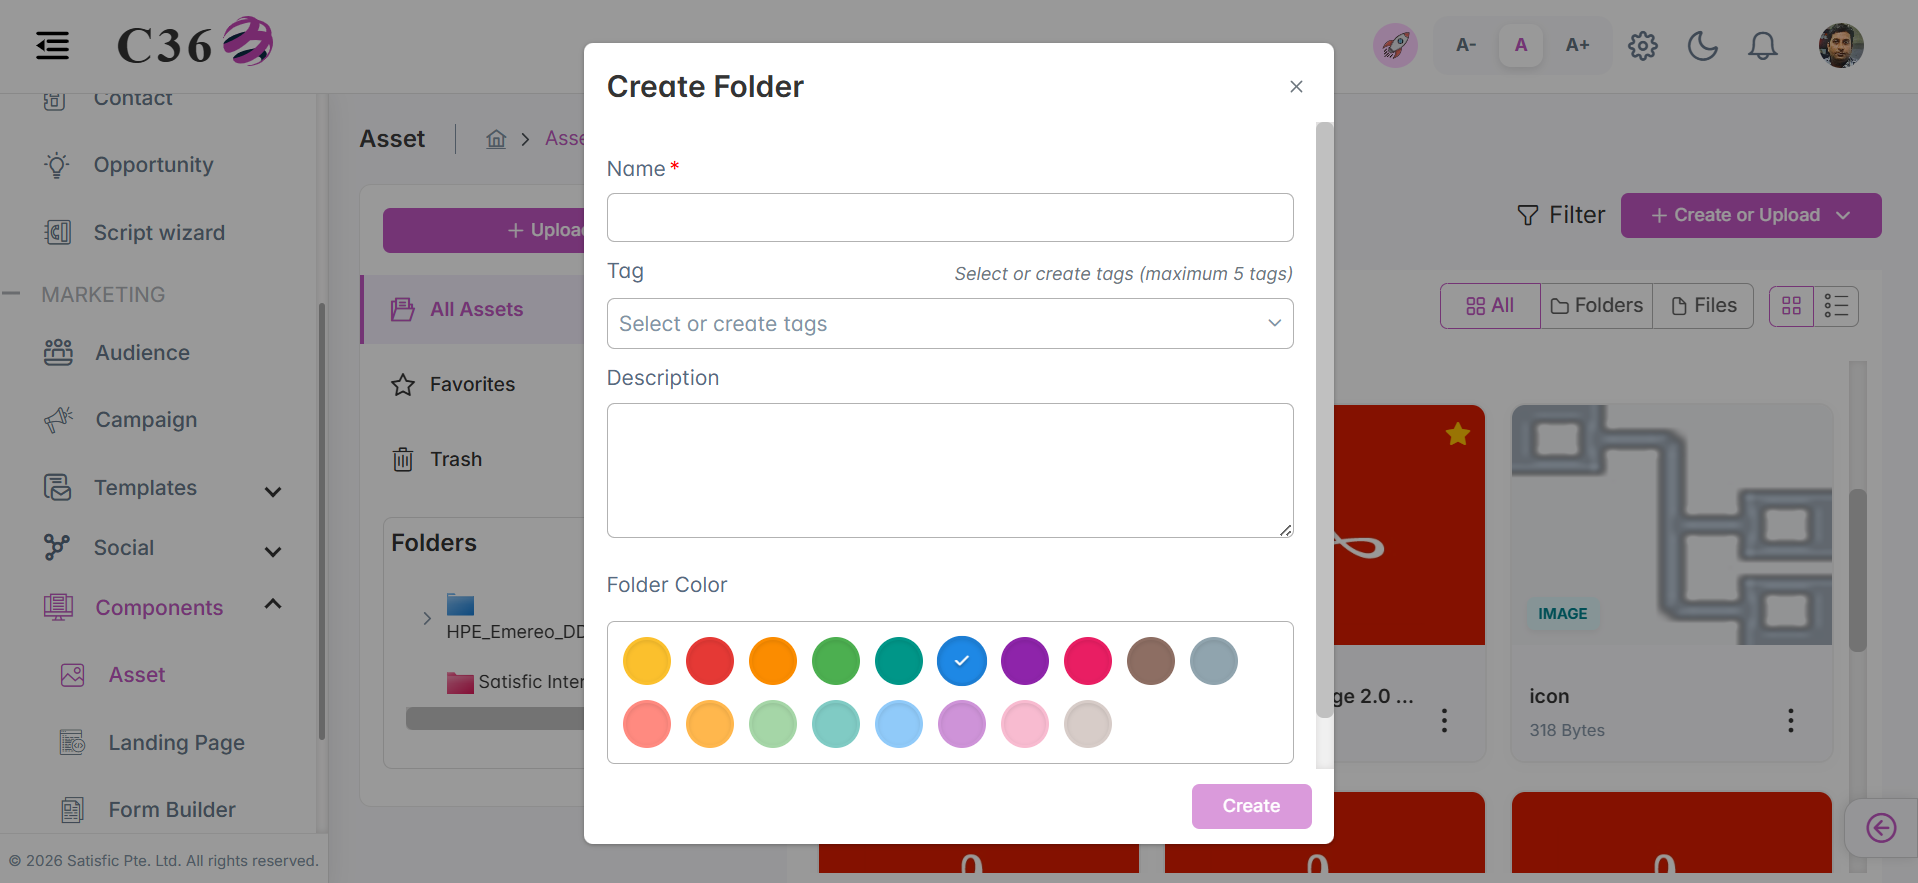
- 📁 Add Folder
- 📄 Add File
- ➡️ Click Create or Upload
- Select Create Folder.
- Enter details (Name, Tag , Description, Folder Color).
- Click ** Create**.
- ➡️ Click Create or Upload
- Select Upload File
- Enter details (Name, Tag,Type, Description)
- Upload / Choose the File from your system as required.
- Click Upload.
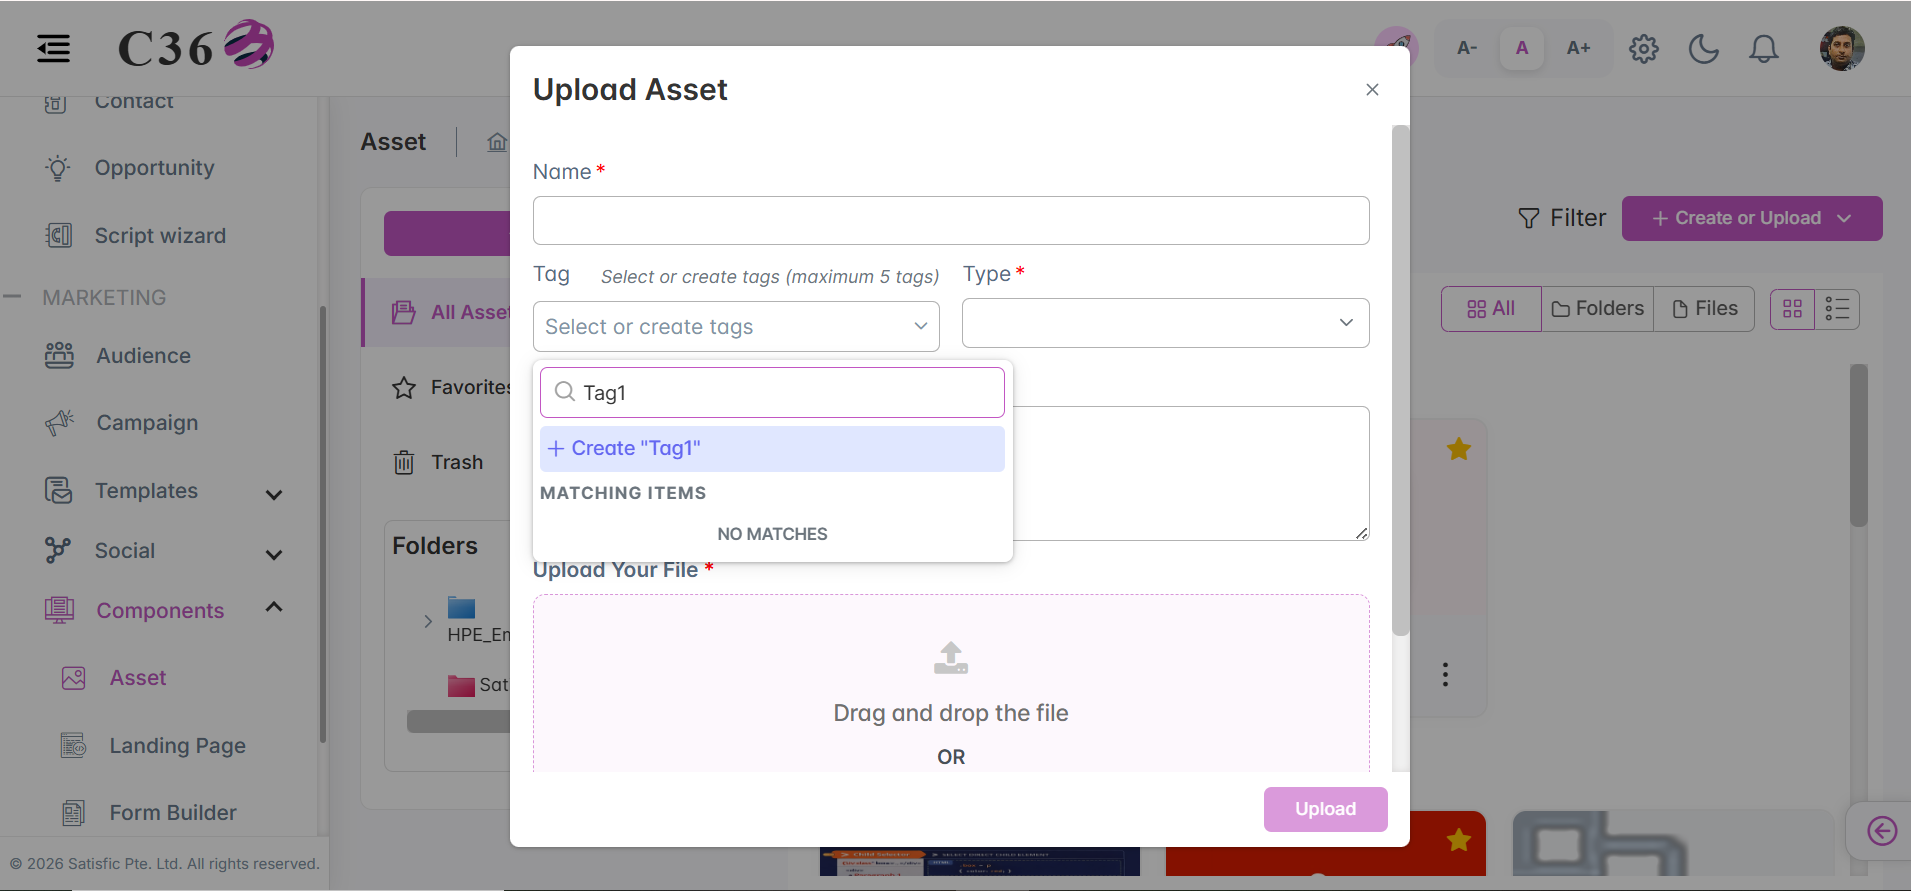
note
- For adding a tag : Click on tag dropdown , enter text in the search field and click on create.
To edit an asset:
- ➡️ Click the ** Edit (pencil)** icon for File or Folder you want to update.
- Make necessary changes.
- Click on ** Update** .
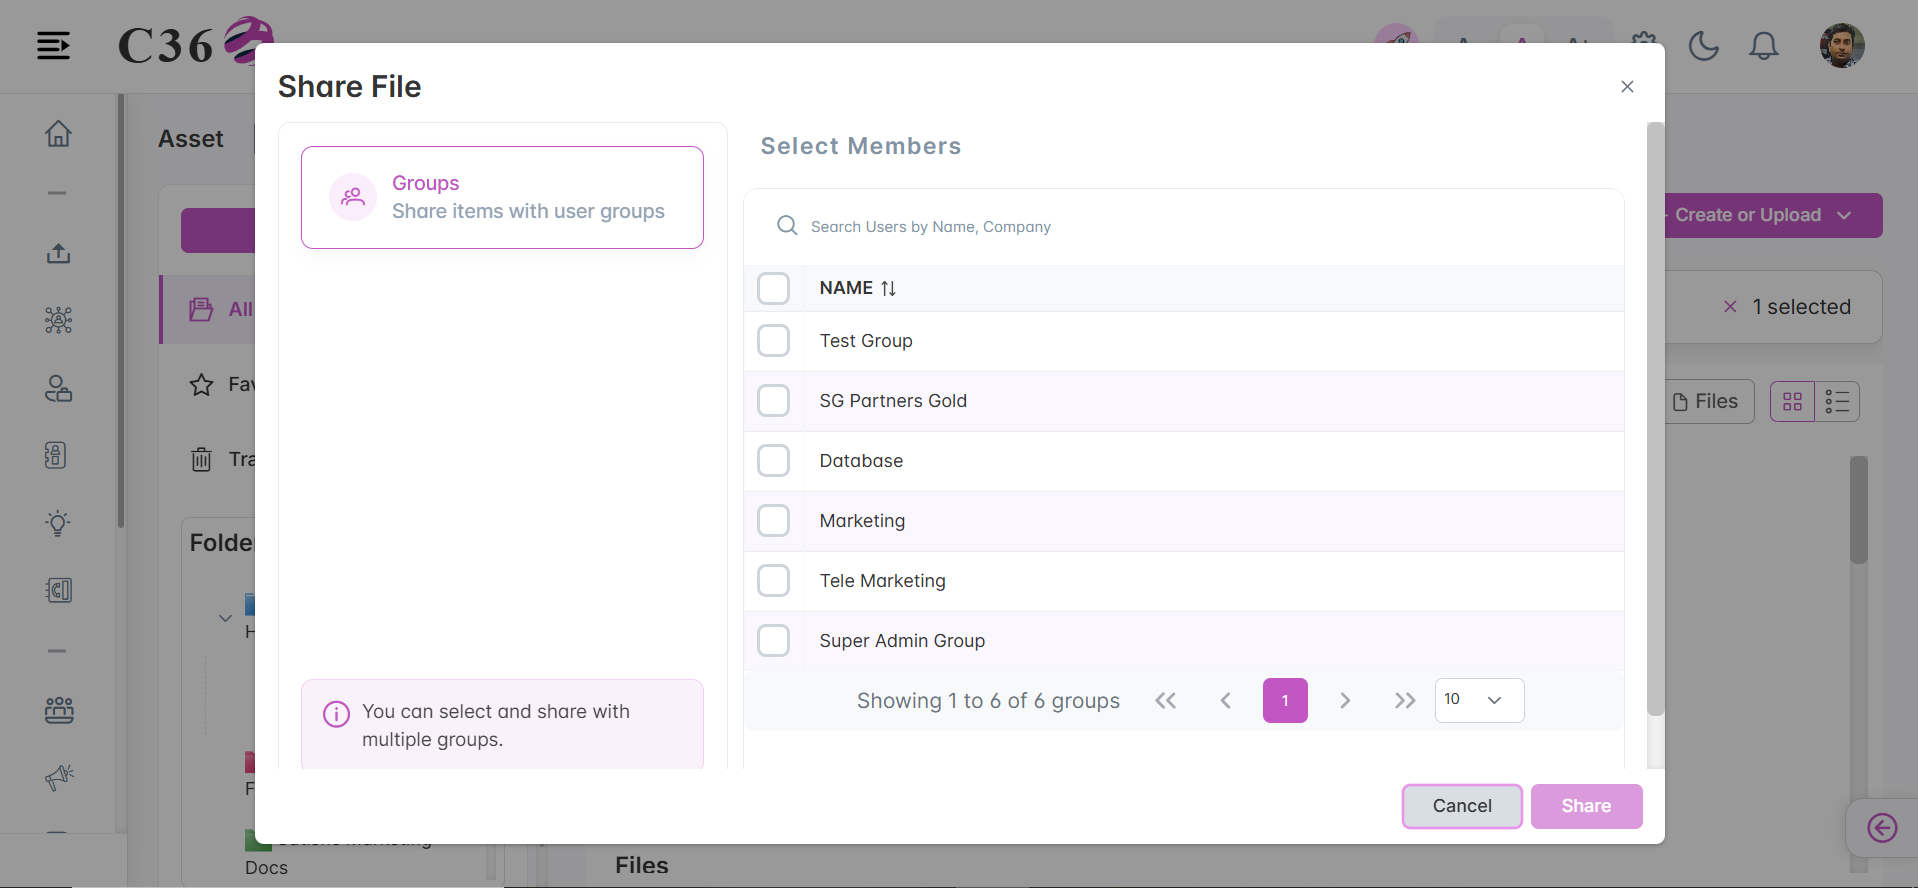
👥Share Asset to Group
➡️ Select one or more assets → Click Share → Choose a group.
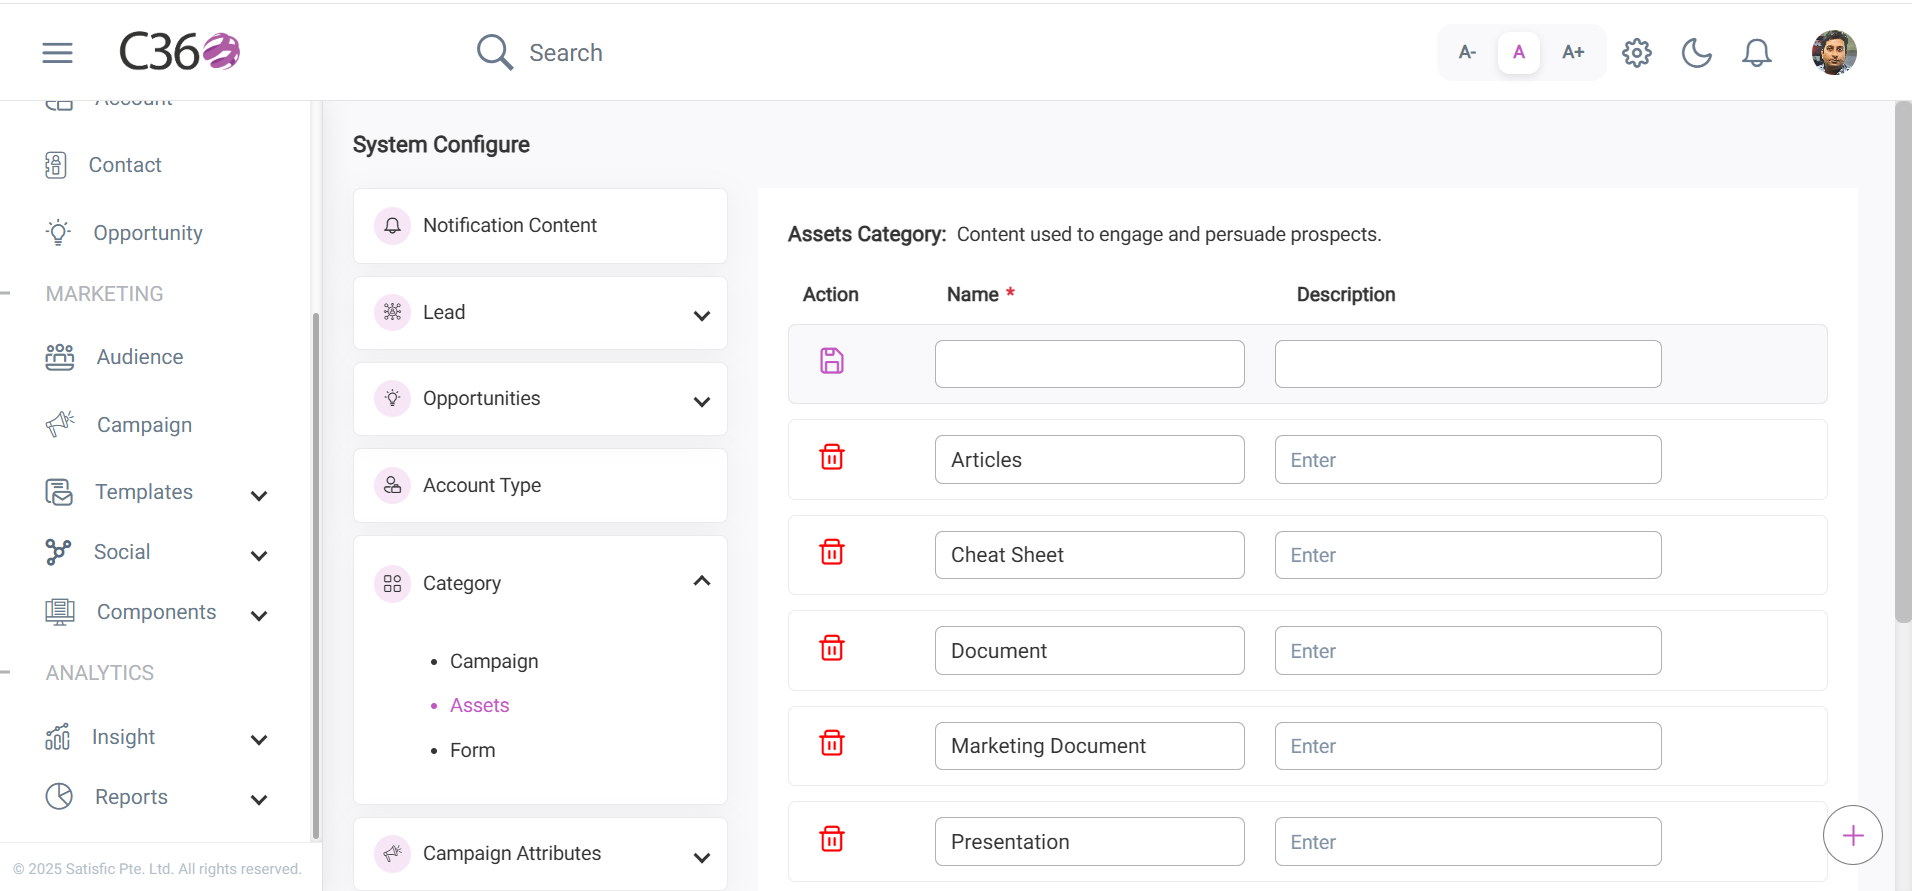
⚙️Managing Assets Category
- Assets are shared with contacts (e.g., after form submissions).
- You can track downloads , assign point values , and review history .
- Assets can also be grouped into Categories for easier management.
💡 Tip: To track downloads via email, copy the Asset Link into your Email Template button’s href.